

 عربى
عربىNEWS
Home / News / Industry News / How to Embroider on Leather: A Practical Machine Embroidery Guide for Durable Results
75/36 100% elastic yarn 20D Denier air-wrapped yarn: innovative technology improves fabric breathability
Jun 06,2025
Unraveling the Durability: Why Polyester Embroidery Thread Reigns Supreme
Jun 06,2025
The power of nonwovens: how non-woven fabrics impact modern life
Jun 06,2025
From strength to protection: Nylon cable performance and selection guide for various applications
Jun 06,2025
Creative Ways to Incorporate Sequin Yarn into Clothing Designs for Stunning Visual Effects
Jun 06,2025Content
A client wants their brand mark embroidered on a leather jacket panel, or a workshop order calls for a monogram on a leather bag flap. Once the needle enters the hide, there is no going back: leather does not hide needle holes the way woven fabric does. The practical approach is to plan around that permanence before the machine starts. With the right thread, a firm cutaway backing, and a test stitch on a scrap of the same leather, machine embroidery on leather produces clean, durable results on a standard home or industrial machine.
Good leather embroidery is not a matter of luck or a specialized machine. It comes from choosing materials with the leather's density in mind, and from treating the first attempt as a sample rather than the final piece.
Leather is not a textile. It has no warp and weft, no grain that pushes back together, and almost no stretch. Several consequences directly affect the embroidery process:
Each type of leather reacts differently. Firm vegetable-tanned leather holds crisp stitch definition but requires more needle force. Soft garment leather and lambskin can sag or pucker even with backing. Suede and nubuck need a topping to control the nap. Patent and coated leathers are the most delicate and can crack or mark around every hole. The setup below addresses all of these cases, with the most demanding leathers needing both cutaway backing and a water-soluble topping.
The answer is not a special machine. It is a controlled setup: choose a strong thread, use cutaway backing, lower the stitch density, and confirm the result on a scrap before starting the real piece.
Thread selection is the first decision that determines whether leather embroidery looks bold or disappears into the material. Standard 40-weight polyester thread can stitch through most leathers, but a heavier thread such as 30-weight or 450D/3 fills the needle hole more completely and gives lettering and logos a solid, dimensional edge. On suede, a heavier thread is even more important because thin threads sink into the nap.
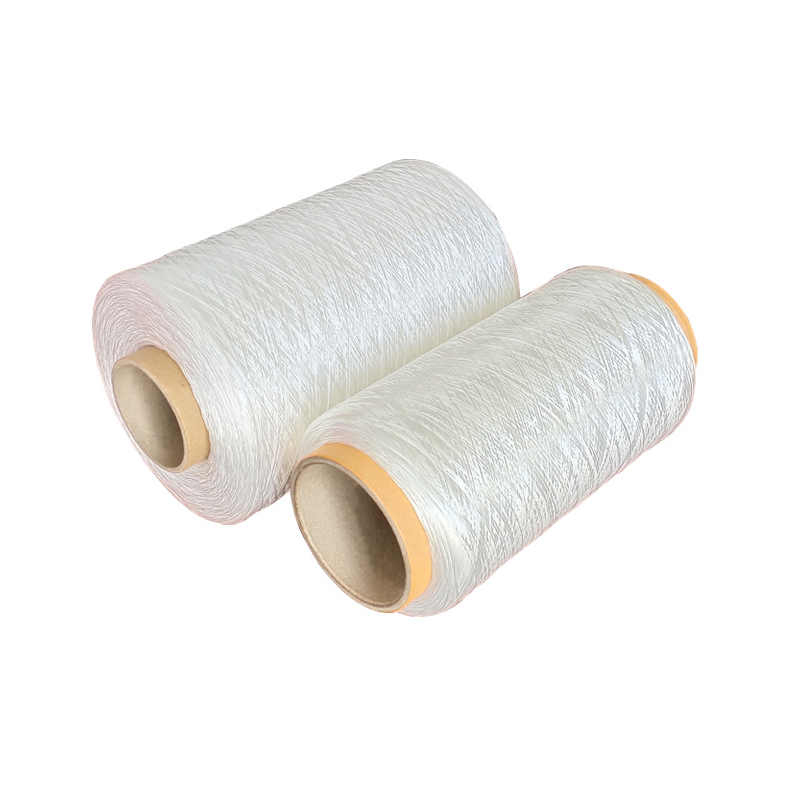 Single Huge Spool 450D/3 Polyester Embroidery ThreadBy twisting three yarns together, the overall strength of the yarn is enhanced, allowing it to withstand greater stretching and friction, and adapt to high-load embroi...View Product →
Polyester is the safest all-around choice for leather. It resists abrasion, holds color well, and withstands the friction of dense stitching better than cotton or rayon. Rayon still produces a high gloss, but it breaks more easily under the tension that leather often requires. Metallic threads should be reserved for small accents: the added friction of the leather surface makes them fray and snap quickly in large fills.
When the design runs close to a seamed edge, or when the finished piece is a bag, belt, or jacket that bends and rubs, the thread also needs enough strength for the seam zone. A core-spun sewing thread with a polyester wrap combines the strength of a core filament with the smooth stitch appearance of a wrapped outer layer, and it is a dependable choice for edge and seam areas where a standard decorative thread is not designed to hold up.
If you are comparing options for a specific machine or design, our leather embroidery thread guide lists the polyester weights, finishes, and constructions that work best on leather and similar dense materials.
Cutaway backing is the standard recommendation for leather, and it is worth repeating: use cutaway, not tearaway. Tearaway backing tugs at the permanent holes in the hide when it is removed, and the risk increases with dense designs. A firm cutaway stays attached under the stitches, supports the leather around each needle penetration, and prevents the design from cracking or tearing as the piece flexes. Lightweight garment leather benefits from a medium-weight cutaway, while firm or thick leather accepts a heavyweight version.
Smooth, coated, and finished leathers also benefit from a topping layer. A water-soluble topping placed on the right side of the leather reduces friction between the needle and the surface, prevents burn marks, and keeps the stitches sitting cleanly on top of the material. It dissolves in warm water after stitching and leaves no film or residue.
For suede and nubuck, the topping layer is not optional. It holds down the pile so the needle does not push fibers into the design, and it prevents the furrowed look that appears when thread compresses the nap around the stitches.
A new needle on every leather project is the cheapest insurance you can buy. A leather-point needle with a cutting edge makes a small, clean hole with less drag than a standard ballpoint, which reduces skipped stitches and keeps the design edges sharp. Sizes 90/14 and 100/16 cover most leathers; softer hides such as lambskin may take a lighter needle, though you trade some strength. Thread weight and needle eye are linked: a 30-weight or 450D/3 thread needs a needle with a larger eye so the thread passes freely without shredding.
Run the upper tension lower than you would for woven fabric. Leather adds friction to the thread path, so a normal tension setting pulls the top thread into the surface and can cut the hide around the holes. Check the bobbin tension as well; a bobbin case that runs slightly looser is easier to live with on leather, because tight bobbin tension contributes to tenting, where the stitches pull the leather upward into a ridge.
Reduce the design density by 10 to 20 percent compared with the same design on denim or canvas, and slow the machine to roughly 600 to 700 stitches per minute. On home machines, the general setup is the same as any hooped project once the backing is in place; our home embroidery machine use guide covers the hooping and tension basics that apply here.
For design planning, keep small lettering above roughly 12 mm in height; below that size, the holes made by a heavy thread blur together and the lettering reads as a dark smudge. Avoid extremely dense fills and long running stitches on thin leather, and keep columns at least 3 mm wide so the thread can cover the holes.
Even with careful preparation, issues can appear mid-project. The table below lists the most common problems and the fastest practical fixes.
| Problem | Most Likely Cause | Fix |
|---|---|---|
| Skipped stitches | Dull needle or excessive drag | Install a new leather-point needle |
| Repeated thread breaks | Upper tension too high | Lower the tension; try a larger-eye needle |
| Visible needle holes beyond the design | Oversized needle or dense stitching | Use a smaller needle; reduce density |
| Edges tear out | Not enough backing support | Add a second layer of cutaway |
| Burn marks on the surface | Missing topping or high speed | Add water-soluble topping; slow the machine |
Leather embroidery fails less often because of the machine than because of the preparation. A polyester thread heavy enough to fill the needle hole, a cutaway backing firm enough to support the hide, and a test run on scrap leather will carry most projects through without drama. Start there, and the finished piece will look as intentional and clean on the first attempt as any design stitched on fabric.
How to Digitize for Embroidery: Step-by-Step Guide to Stitch Files and Thread Setup
2026-09-02
A Practical Guide: How to Sew Beads Onto Fabric with Needle and Thread
2026-09-16Your email address will not be published. Required fields are marked *
*Indicates a required field
Copyright © Shaoxing Qiufei Textile Technology Co., Ltd.  Custom Embroidery Thread Yarn Manufacturers