

 عربى
عربىNEWS
Home / News / Industry News / How to Digitize for Embroidery: Step-by-Step Guide to Stitch Files and Thread Setup
75/36 100% elastic yarn 20D Denier air-wrapped yarn: innovative technology improves fabric breathability
Jun 06,2025
Unraveling the Durability: Why Polyester Embroidery Thread Reigns Supreme
Jun 06,2025
The power of nonwovens: how non-woven fabrics impact modern life
Jun 06,2025
From strength to protection: Nylon cable performance and selection guide for various applications
Jun 06,2025
Creative Ways to Incorporate Sequin Yarn into Clothing Designs for Stunning Visual Effects
Jun 06,2025Content
A 10,000-stitch left-chest logo can run cleanly across 500 garments, or it can snap thread every third piece, swallow its own 4 mm lettering, and pucker around every border. The artwork is rarely the difference between those two outcomes — the digitizing is. Digitizing for embroidery is the process of converting artwork into a stitch file that tells the machine exactly where to place every stitch, in what direction, at what spacing, and in which color. When that file is built well, the design runs predictably on the fabric it was planned for; when it is not, no amount of thread quality or careful hooping will rescue it.
One point is worth settling before anything else: digitizing is not purely a software task. Every setting inside the file — stitch type, density, underlay, sewing order — is a decision about how thread behaves on fabric. The strongest results come from treating the stitch file and the thread and backing choices as one project rather than two separate ones.
An embroidery machine cannot read a photograph or a vector logo directly. It reads a stitch file — DST, PES, JEF, VP3, EXP, and similar formats — which is a long list of commands: stitch coordinates, color changes, trims, jumps, and every needle penetration. Digitizing is the craft of writing that list deliberately, shape by shape, rather than letting a program guess.
This is where auto-digitize buttons earn their mixed reputation. Automatic conversion will fill an area with stitches, but it does not know that a 6 mm serif letter needs a satin column with adjusted spacing, that a fill on pique knit needs more pull compensation than the same fill on twill, or that sewing order should move from the center of a design outward to limit distortion. Manual control over those settings is what separates a file that runs from a file that fights the machine.
The same sequence repeats on almost every commercial job, and following it in order prevents most rework:
Start with the cleanest source file available — vector art if possible, otherwise a high-resolution image with crisp edges and clearly separated colors. Merge near-identical shades, close gaps in outlines, and flatten gradients, because a design with forty subtle color transitions has to be simplified before it can map onto six or eight thread colors.
Each shape receives a stitch type according to its size and role. Running stitches carry fine lines and outlines, satin stitches cover lettering and borders, and fill stitches handle larger areas. As a rule of thumb, lettering below about 4–5 mm tall is unreliable with standard thread; either enlarge it or plan a finer thread weight before digitizing. The table below summarizes the starting points most digitizers work from.
| Stitch type | Best used for | Typical starting values | What goes wrong when misapplied |
|---|---|---|---|
| Running stitch | Fine lines, outlines, travel runs between elements | 2.0–2.5 mm stitch length | Lines turn wobbly or gappy on tight curves when the length is too long |
| Satin stitch | Lettering, borders, and columns narrower than about 10 mm | 0.30–0.40 mm spacing | Wide satins snag and fray; overly narrow ones fill in and lose legibility |
| Fill (tatami) | Large areas of solid color, backgrounds, shading | 0.35–0.45 mm spacing, 3.5–4.5 mm stitch length | Too dense stiffens the fabric and slows production; too sparse lets the backing show through |
| Underlay | Support layer sewn beneath satins and fills | Center run plus edge run; zigzag versions for knits | Skipping it lets stitches sink into plush or stretchy fabric and registration drift |
Three numbers do most of the work in a finished file. Fill spacing for standard 40 weight thread usually starts around 0.35–0.45 mm, with satin spacing in a similar range, and each value gets tuned to the fabric underneath. Underlay keeps stitches from disappearing into the pile of terry cloth or the stretch of a knit. Pull compensation of roughly 0.2–0.5 mm per edge offsets the way stitches draw fabric inward — the low end for stable wovens, the high end for knits that pull hard.
Finally, order the elements so the design sews from its center outward and from background layers to foreground details, group shapes by color to minimize thread changes, and route connections to keep jump stitches and trims short. Good pathing shaves real seconds off every garment, which adds up quickly when a run is measured in thousands of pieces.
A stitch file is tuned for one combination of fabric, backing, and thread. Change any of the three and the file needs adjustment before it will sew the same way. That is why experienced shops decide materials and digitizing settings together, not one after the other.
Thread weight is the most direct lever. Most commercial digitizing assumes a standard 40 weight embroidery thread, the workhorse polyester filament typically sold as 120D/2, and default densities are built around it. Move to a 60 weight fine thread and small lettering stays crisp at tighter spacing; move to a 30 weight thick thread for bold coverage and the spacing should open up so the design does not stiffen into a patch.
 Polyester Filament Embroidery Thread 120D/2This 120D/2 filament polyester corresponds to the standard 40 weight thread that most digitizing defaults assume, making it a practical baseline for checking top-thread density and spacing in your embroidery files.View Product →
The bobbin side deserves the same attention. Balanced stitching depends on matched tension between top and bottom thread, and files with heavy underlay consume more bobbin than beginners expect. A consistent polyester bobbin thread, such as a 150D cocoon-wound bobbin, keeps that variable stable across a long production run.
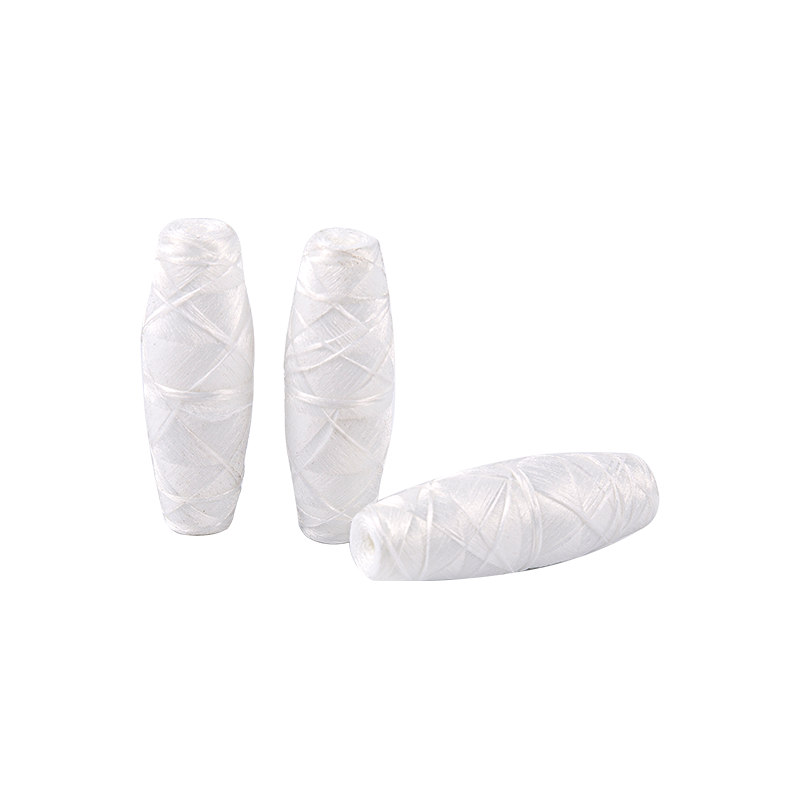 150D Polyester Bobbin Thread P10Heavy underlay and dense files consume more bobbin thread than beginners expect. This smooth 150D polyester bobbin thread runs consistently at high speeds, keeping bottom tension stable across long production runs.View Product →
Backing is digitizing's silent partner. Stable wovens often run on a light tear-away; knits need firmer support and more pull compensation; and sheer fabrics call for a different strategy altogether. For chiffon, organza, and lace work, designs are digitized with open areas on purpose and sewn on a water-soluble backing that rinses away afterward, leaving only the stitching. If that is the direction you are heading, review threads suited to thin and sheer embroidery fabrics before the file is drawn. At the opposite extreme, dense twill, denim, and leather demand stronger support, wider spacing, and usually a heavy-duty embroidery thread to match.
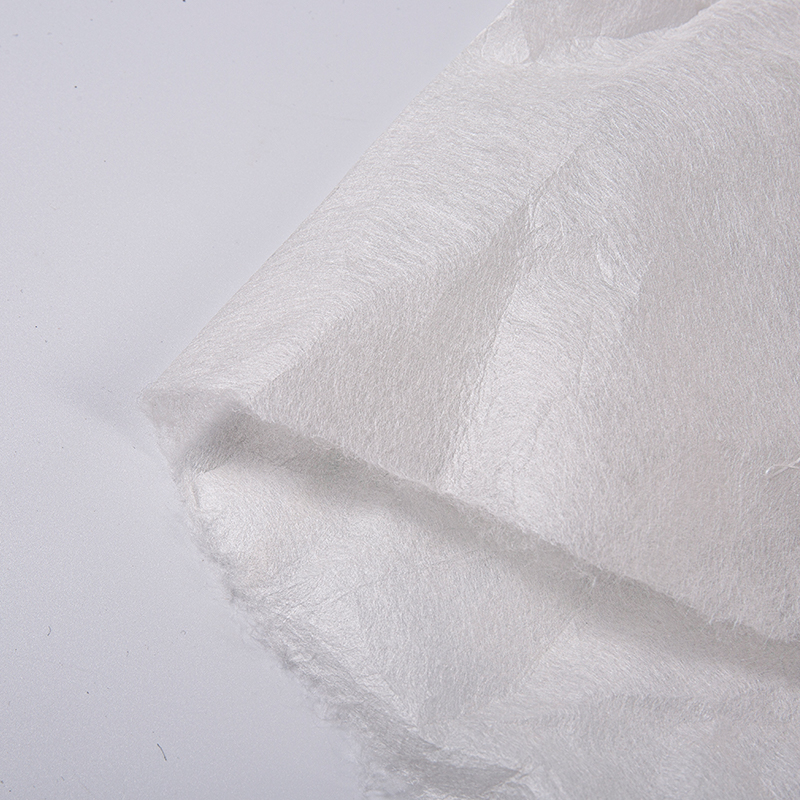 90C Hot Water Soluble Non Woven Fabric 35g WhiteFor chiffon, organza, and lace work digitized with open areas, this water-soluble backing dissolves quickly in hot water after embroidery, rinsing away cleanly and leaving only the stitching behind.View Product →
Weight numbers confuse many newcomers because several systems are in use at once. This guide to how thread thickness is measured walks through denier, weight, and tex so the settings in your file and the cones on your shelf actually line up.
No digitizer, however experienced, ships a file without sewing it. The test must run on the same fabric, backing, and thread combination as production, because a file that behaves on twill can misbehave on pique. Read the sew-out as diagnostics:
Expect two or three revisions between the first sew-out and a production-ready file, and keep notes on what each adjustment changed. The fastest way to build digitizing judgment is to stand at the machine and watch designs sew: seeing which stitches sink, which snag, and which hold is information no screen provides. That log of observed results becomes the quickest tuning reference for the next design on the same fabric.
Professional digitizers and production managers treat thread selection as part of the same conversation as stitch settings. Polyester embroidery thread dominates commercial work because it withstands industrial laundering, abrasion, and chlorine exposure; rayon offers a softer sheen for fashion pieces but wants gentler handling; and metallic threads sew best at reduced machine speed with slightly open density — a note that belongs in the file before production starts, not after breaks pile up. When the stitch file and the materials are planned together, the test sew-out becomes a confirmation instead of a rescue mission, and that is precisely where machine embroidery stops being unpredictable.
How to Embroider with a Machine: A Beginner's Guide to Thread, Stabilizer & Hooping
2026-08-26
How to Embroider on Leather: A Practical Machine Embroidery Guide for Durable Results
2026-09-09Your email address will not be published. Required fields are marked *
*Indicates a required field
Copyright © Shaoxing Qiufei Textile Technology Co., Ltd.  Custom Embroidery Thread Yarn Manufacturers