

 عربى
عربىNEWS
Home / News / Industry News / How to Embroider: A Beginner's Step-by-Step Guide to Stitches and Thread
75/36 100% elastic yarn 20D Denier air-wrapped yarn: innovative technology improves fabric breathability
Jun 06,2025
Unraveling the Durability: Why Polyester Embroidery Thread Reigns Supreme
Jun 06,2025
The power of nonwovens: how non-woven fabrics impact modern life
Jun 06,2025
From strength to protection: Nylon cable performance and selection guide for various applications
Jun 06,2025
Creative Ways to Incorporate Sequin Yarn into Clothing Designs for Stunning Visual Effects
Jun 06,2025Content
Embroidery has a reputation for being fiddly, but underneath the pretty patterns it is a simple idea: you pass thread in and out of fabric until a shape appears. Your first piece is not really about style. It is about learning how the needle moves, how much tension the thread wants, and how fabric behaves when a stitch pulls tight.
This guide walks the whole beginner path: the tools worth buying, how to get a design onto fabric, the four stitches that handle most everyday work, and how to finish a piece so it survives a wash. If you have ever looked at a monogrammed towel or a denim jacket and wondered how to embroider that, this is the route we would walk a friend through.
Two routes lead to a finished piece, and neither is wrong.
Hand embroidery is slow and portable. You can work on a bus, unpick a bad stitch without ruining the piece, and keep control of every curve. It suits personal projects, small motifs and anything that should look made by a person rather than a program.
Machine embroidery is faster and far less forgiving. A home machine follows a digitised design; a commercial machine runs many heads at once. Mistakes show up immediately, and stitch density matters more than artistic instinct.
If you are a true beginner, start by hand. A week of hand stitching teaches you how thread behaves, and that knowledge makes you noticeably better on a machine later.
The temptation is to buy a whole kit at once. Buy less than you think and add tools as your projects ask for them.
Much beginner frustration is really thread frustration: fraying, snapping, a fuzzy surface that refuses to sit flat. Polyester filament embroidery thread is the forgiving option. It holds colour through repeated washing, stands up to ordinary detergents, and keeps an even sheen across a large filled area, which is why it dominates both home projects and production embroidery.
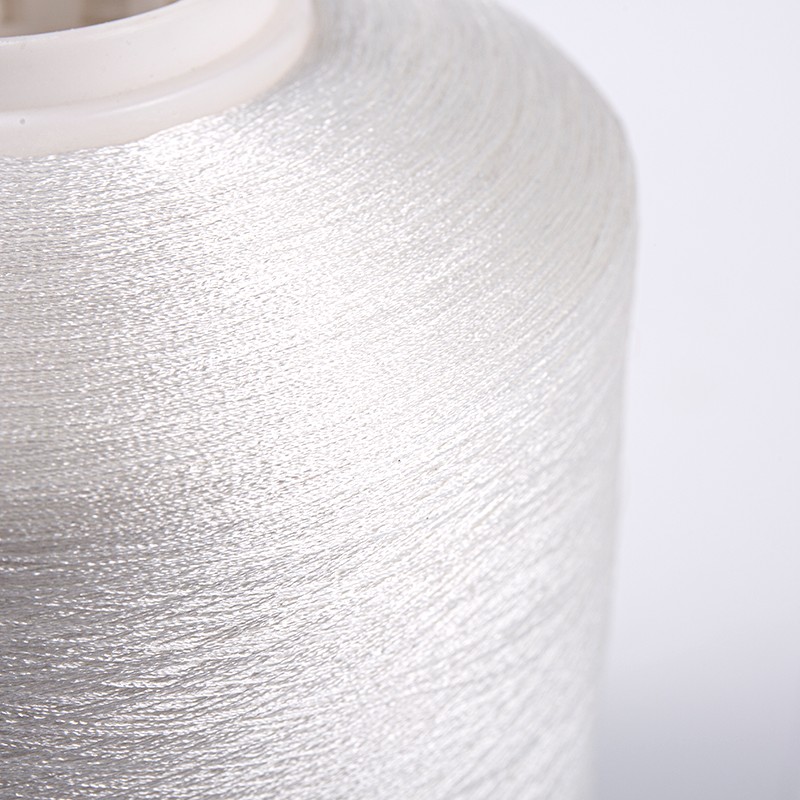 Polyester Embroidery Thread 108D/2 Rolls for Machine EmbroideryA fine 108D/2 polyester thread in rolls with high gloss and softness, suited to delicate lace, fine textures, and small letter embroidery.View Product →
Viscose rayon is the other classic, and it feels different in the hand: softer, with a deeper gloss that makes satin stitches look almost luminous. It is more delicate, so skip the bleach, keep the iron cool and press from the reverse. The choice between the two comes down to how the finished piece will be worn and washed; this comparison of polyester and rayon embroidery thread goes deeper into that trade-off.
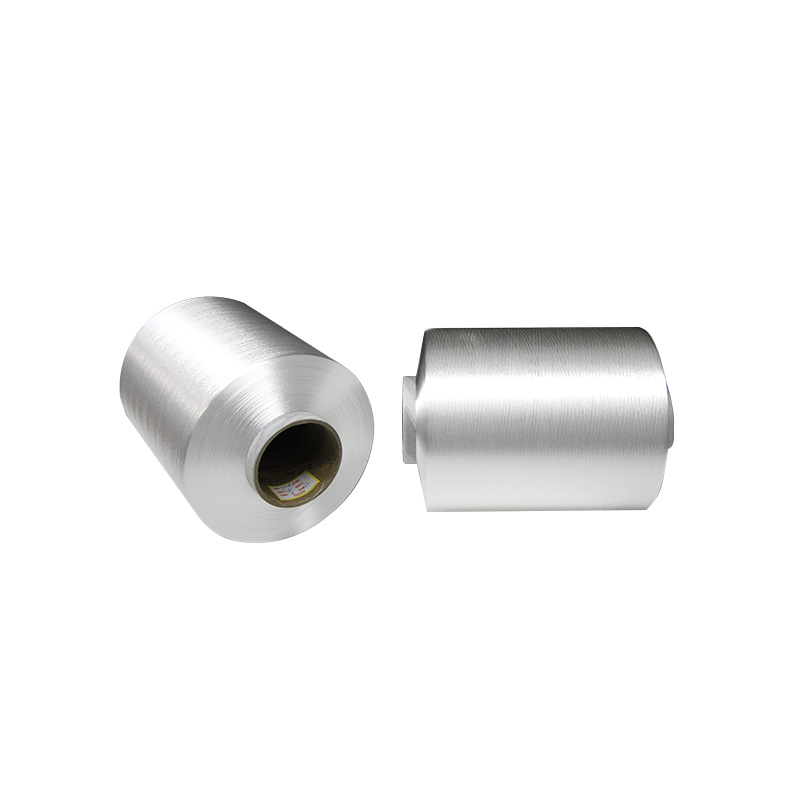 White 300D/2 Viscose Rayon Thread on Huge SpoolA white 300D/2 viscose rayon thread on a single large spool, reducing thread changes during long industrial embroidery production runs.View Product →
If the fabric is thin, dark or prone to shifting, a stabiliser saves the project. For fine cotton and sheer work, a 90 degree hot-water-soluble non-woven in 35 g white supports the stitches while you work, then rinses away cleanly once the piece is finished.
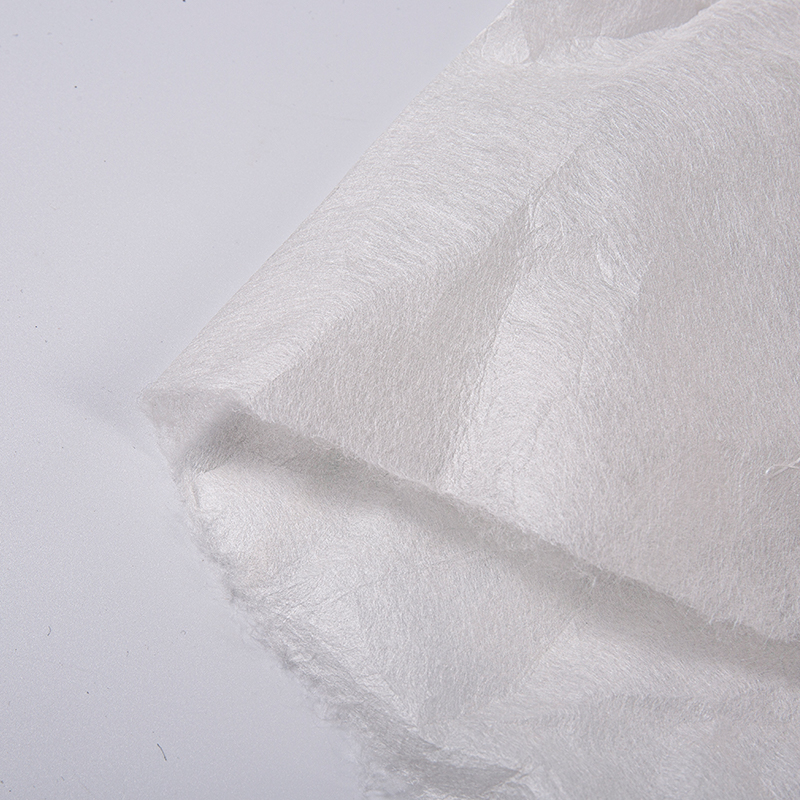 90C Hot Water Soluble Non Woven Embroidery Stabilizer 35g WhiteA 35g white non-woven stabiliser that dissolves in 90C water, supporting fine or shifting fabrics before rinsing away cleanly after embroidery.View Product →
You can build a surprising amount of embroidery with four stitches. Learn them in this order and you will rarely be stuck.
| Stitch | How you work it | Where it works best |
|---|---|---|
| Running stitch | Pass the needle up and down at even intervals, like a dashed line | Outlines, borders, quilting, light texture |
| Back stitch | Come up ahead of the last stitch and go back into its end so the stitches touch | Solid outlines, lettering, crisp curves |
| Satin stitch | Work straight stitches side by side across a shape until it is filled | Filled shapes, petals, monograms, small solid areas |
| Chain stitch | Bring the thread up, hold a loop, and take the needle back down beside the same point to catch it | Thick outlines, stems, decorative borders, looped fill |
Two practical notes. Satin stitch looks best when the area is not too wide; past about half an inch, split the shape or pad it with a layer of running stitches first. Chain stitch loves curves, so let the loop follow the line instead of forcing it straight.
Tension separates neat embroidery from a puckered mess. If the fabric dimples around each stitch, you are pulling too hard, so ease off and let the hoop hold the fabric. If loops sit loosely on the surface, the thread is too slack or the needle is too large for it.
Starting without a knot is easier than it sounds. Leave a short tail at the back, take two or three tiny stitches over one spot, then work the design across them; the tail gets trapped and disappears. To finish, run the needle under the back of three or four stitches, pull gently and trim close. No knots at the back means no lumps at the front.
A short list of habits that cost beginners the most time:
Home machines take the stitching out of your hands but not the judgement. You still choose the fabric, the backing and the bobbin thread, hoop the material evenly, and trim the jumps between colour blocks. Start on a stable woven, use a fresh needle, and test the design on scrap first, because density problems are far easier to fix before you commit the good material. If you want the whole routine step by step, this guide to using a home embroidery machine covers it.
Commercial embroidery is the same logic at a different scale: many needles, high speeds, and thread that has to behave the same way across thousands of stitches. At that point thread quality stops being a preference and becomes a production requirement.
Rinse away any water-soluble marker and stabiliser as its instructions direct, then dry the piece flat. Press it face down on a towel so the stitches sink into the pile instead of being crushed, because a hot iron straight on the surface will flatten satin stitches and dull rayon for good. Store finished work flat or rolled rather than folded along a stitched line, and wash embroidered clothing inside out on a gentle cycle.
We make embroidery thread, including polyester and viscose rayon, metallic and novelty yarns, along with the beads and non-woven backing that go with them. That means we spend most of our working day on the same questions you are about to meet: tension, colour matching, and how a thread looks after its twentieth wash. If your hobby grows, or you are sourcing thread for a workshop or a garment programme, we are glad to talk through specs, colours and cone sizes. For now, thread a needle, hoop a piece of cotton, and stitch one small line. That is how everyone starts.
Your email address will not be published. Required fields are marked *
*Indicates a required field
Copyright © Shaoxing Qiufei Textile Technology Co., Ltd.  Custom Embroidery Thread Yarn Manufacturers