

 عربى
عربىNEWS
Home / News / Industry News / How to Do Embroidery: The Complete Beginner's Guide to Hand Stitching Basics
75/36 100% elastic yarn 20D Denier air-wrapped yarn: innovative technology improves fabric breathability
Jun 06,2025
Unraveling the Durability: Why Polyester Embroidery Thread Reigns Supreme
Jun 06,2025
The power of nonwovens: how non-woven fabrics impact modern life
Jun 06,2025
From strength to protection: Nylon cable performance and selection guide for various applications
Jun 06,2025
Creative Ways to Incorporate Sequin Yarn into Clothing Designs for Stunning Visual Effects
Jun 06,2025Content
Embroidery is one of the oldest and most rewarding ways to personalize fabric, and it is far easier to learn than most people expect. With a needle, some thread, a hoop, and a piece of fabric, you can create everything from a simple monogram on a handkerchief to a richly textured wall hanging. In this guide, we walk you through the entire process of hand embroidery, from choosing materials to mastering the essential stitches, so you can start your first project with confidence.
Before you make your first stitch, gather a small set of beginner-friendly supplies. You do not need an expensive kit; a few basic tools will cover most hand embroidery projects:
Once these items are in hand, you are ready to set up your workspace and start practicing.
The fabric you choose affects both how easy the stitching is and how the finished piece looks. Cotton and linen with a balanced, even weave are the best starting point because they hold stitches securely and do not stretch out of shape. As you gain experience, you can move on to denim, leather, towels, and even sheer fabrics, each of which needs a slightly different approach.
A stabilizer is essential when you stitch on stretchy, thin, or loosely woven fabrics. It prevents puckering and keeps your design crisp and even. Water-soluble stabilizer is especially useful because you can draw or print a design directly onto it, stitch through it, and then rinse it away completely in warm water.
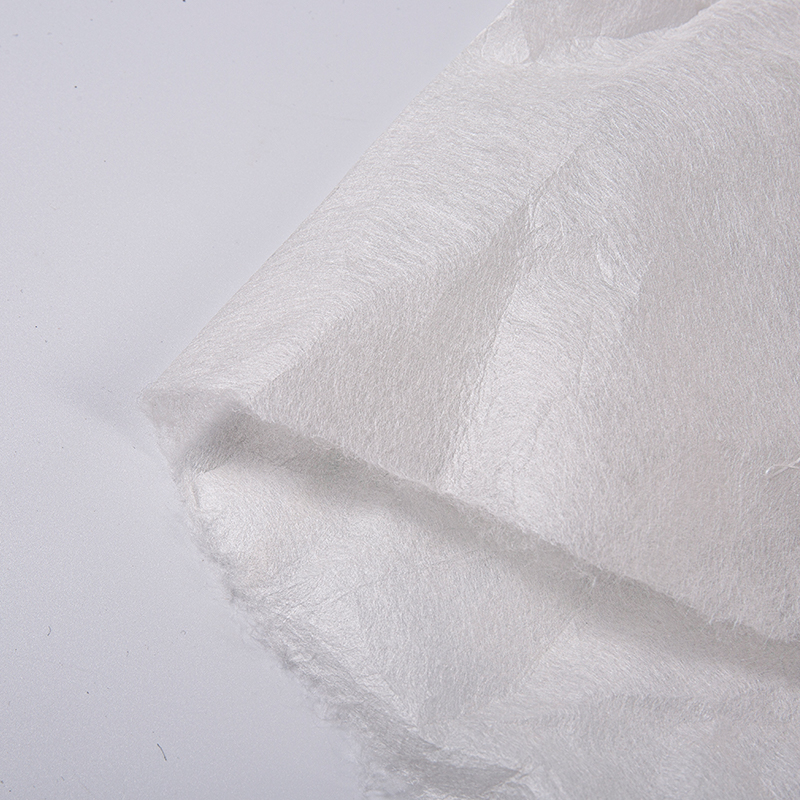 Water-Soluble Embroidery Stabilizer for Delicate FabricsThis 35g white non-woven stabilizer dissolves in hot water, leaving no residue. Ideal for stretchy or thin fabrics, it ensures clean, crisp embroidery without puckering.View Product →
For heavier projects such as patches and badges, a tear-away backing gives support during stitching and is removed afterward by tearing. If you are stitching on a garment that will be washed frequently, choose a stabilizer that matches the care requirements of the fabric.
Thread choice has a bigger impact on your results than any other supply. For hand embroidery, most beginners reach for six-strand cotton floss because it is easy to split and comes in hundreds of colors. However, polyester embroidery thread deserves serious consideration as well: it is stronger, more colorfast, and more resistant to abrasion than cotton, which makes it ideal for garments, bags, and anything that gets regular use. Rayon thread is another popular option when you want a glossy, jewel-like shine, though it is less durable than polyester for everyday projects.
Thread weight matters more than many beginners realize. A 40-weight thread is the standard for balanced, detailed stitching, while a thicker 30-weight thread shows up boldly on towels and denim. If you want fine, delicate detail, a 60-weight thread works beautifully on lightweight fabrics. To understand these differences in depth, see our complete guide to how thread thickness is measured.
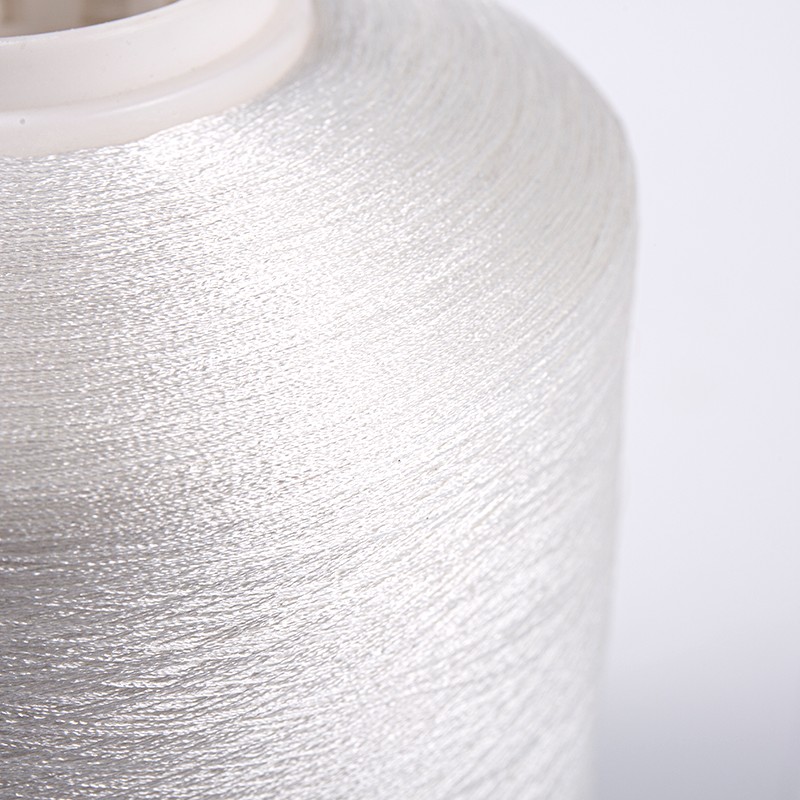 Fine 108D/2 Polyester Embroidery Thread for Detailed StitchesA smooth, glossy polyester thread with moderate fineness, perfect for delicate designs and small lettering. Suitable for both embroidery and sewing machines, enhancing stitch clarity.View Product →
When you split floss, separate only one or two strands at a time for smooth stitches; pulling all six strands at once tends to tangle and leaves a bulky finish.
Place your fabric over the inner hoop, then press the outer hoop down over it. Pull the fabric gently taut, but do not stretch it like a drum; the weave should remain square and flat. Tighten the screw until the fabric stays put when you tug lightly.
Choose a needle that matches your thread and fabric. A size 5 or 7 embroidery needle is a good all-around choice for six-strand floss and 40-weight polyester thread. For thicker threads or yarn, switch to a chenille needle, which has a larger eye and a sharp point. Thread the needle with a single strand or two strands for most outline work, and keep your stitching area well lit so you can see the weave clearly.
You need a clear, visible pattern before you start stitching. There are several reliable ways to transfer a design:
Whichever method you choose, test the transfer on a scrap of fabric first, especially if the fabric is dark, textured, or delicate.
You can complete almost any beginner project with a handful of stitches. Practice each one on a small scrap until the motion feels natural, then combine them into letters, flowers, and borders.
| Stitch | How to work it | Best used for |
|---|---|---|
| Running stitch | Pass the needle up and down at even intervals | Outlines, seams, and simple dashes |
| Back stitch | Bring the needle up one space ahead, then go back to the end of the previous stitch | Strong, continuous lines and lettering |
| Split stitch | Bring the needle up through the center of the previous stitch | Curved lines and stem details |
| Stem stitch | Work overlapping diagonal stitches along the line | Vines and smooth curved outlines |
| Satin stitch | Make parallel straight stitches side by side to fill an area | Solid shapes, leaves, and petals |
| French knot | Wrap the thread around the needle twice, then pull it through | Dot details, flower centers, and texture |
Start with the running stitch and back stitch; together they can handle lettering, simple motifs, and most outline work. Add the satin stitch once you want to fill in shapes with solid color.
When you finish the last stitch, weave the thread end under several stitches on the back of the work instead of tying a bulky knot. Remove the hoop and trim any excess stabilizer. If you used water-soluble stabilizer, soak the piece briefly in warm water, rinse it, and lay it flat to dry.
To press embroidery, place it face down on a folded towel and iron from the back. This protects the stitches from being flattened and keeps the texture raised and dimensional. If the fabric is machine washable, turn the piece inside out and wash it on a gentle cycle, then air dry.
Once the basic stitches feel comfortable, you can embellish your work with beads, sequins, and specialty threads. Adding a few glass beads to a flower center or along a border gives the piece a subtle shimmer that thread alone cannot achieve. For a more dramatic effect, try metallic embroidery thread or a sequin yarn for borders and accents.
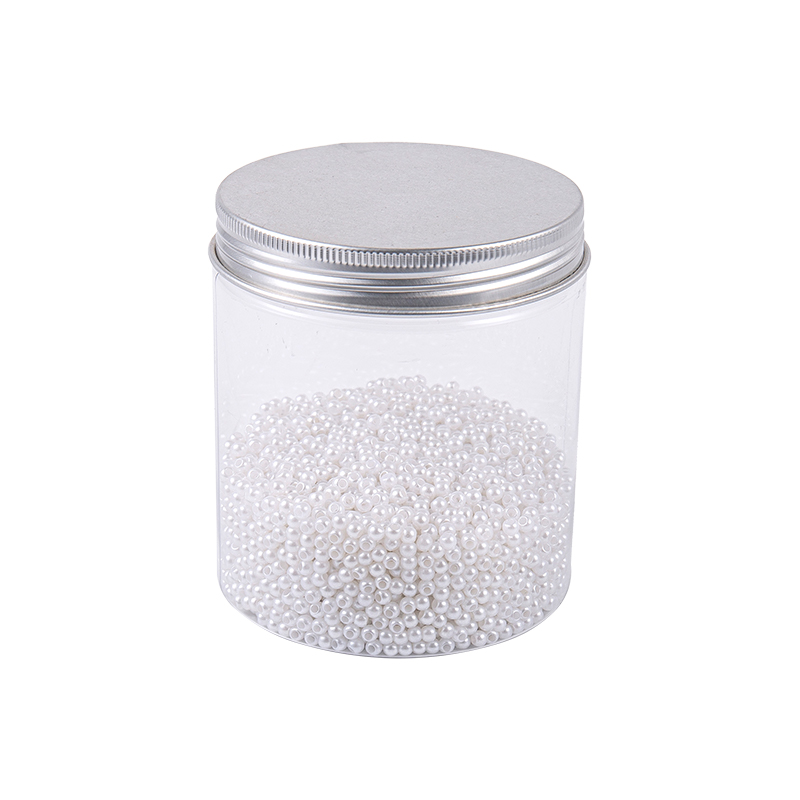 Pearl White Glass Beads for Elegant Embroidery AccentsThese 3.0mm pearl-white glass beads add a soft, luxurious shimmer to garment or home decor projects. Ideal for adding subtle sparkle to flower centers, borders, or accents.View Product →
Embroidery also branches into many directions: cross stitch and other counted techniques are a natural next step, as are crewel work and goldwork. If you prefer speed and repeatability, a home embroidery machine opens up a different world of possibilities, and the same principles of fabric choice, stabilization, and thread selection still apply.
Learning how to do embroidery is simply a matter of mastering a few supplies and a handful of stitches, then practicing them steadily. Start with a small project, keep your fabric taut in the hoop, choose quality thread, and do not be afraid to unpick a stitch and try again. Before long, you will develop a rhythm, and the embroidery you create will become more personal and more polished with every piece.
Your email address will not be published. Required fields are marked *
*Indicates a required field
Copyright © Shaoxing Qiufei Textile Technology Co., Ltd.  Custom Embroidery Thread Yarn Manufacturers