

 عربى
عربىNEWS
Home / News / Industry News / How to Use Beads in Embroidery: A Practical Guide to Glass Bead and Seed Bead Techniques
75/36 100% elastic yarn 20D Denier air-wrapped yarn: innovative technology improves fabric breathability
Jun 06,2025
Unraveling the Durability: Why Polyester Embroidery Thread Reigns Supreme
Jun 06,2025
The power of nonwovens: how non-woven fabrics impact modern life
Jun 06,2025
From strength to protection: Nylon cable performance and selection guide for various applications
Jun 06,2025
Creative Ways to Incorporate Sequin Yarn into Clothing Designs for Stunning Visual Effects
Jun 06,2025Content
Most bead-embroidery failures are decided before the needle ever touches the fabric. A 4mm glass bead paired with a fine 60 wt thread, or a seed bead whose hole is too narrow for the needle, causes more frustration than any stitch technique. The practical rule is simple: the bead, the thread, and the needle must fit one another before you begin. Once they do, using beads in embroidery becomes a steady rhythm of load, position, and anchor, repeated along any line you can draw.
This guide covers the essentials of bead embroidery, from selecting embroidery glass beads and seed beads to mastering the basic stitches and keeping beads securely attached through wear and washing.
Embroidery glass beads and embroidery seed beads are often grouped together, but they play different roles. Seed beads are small, usually under 2mm, and suit delicate outlines, dense fills, and tonal shading. Glass beads in the 2.5mm to 4mm range carry more visual weight and work well for flower centers, borders, fringe, and focal accents.
The table below summarizes the most common bead sizes and how they behave in practice.
| Bead size | Typical use | Best thread match | Practical notes |
|---|---|---|---|
| 2.5mm glass beads | Fine outlines, leaf details, subtle highlights | 60 wt or 40 wt polyester embroidery thread | Small holes; a thin beading needle reduces friction |
| 3mm glass beads | Flower centers, scalloped borders, monogram accents | 40 wt polyester embroidery thread | The most common size for apparel and accessories |
| 4mm glass beads | Focal points, fringe edges, statement motifs | 30 wt or 40 wt thread, or a doubled 40 wt | Heavier; confirm that the fabric can support the extra weight |
Hole size matters more than outer diameter. A bead with a narrow hole will abrade the thread each time it passes through, especially on long rows. If the bead cannot slide freely over a single strand of 40 wt polyester thread, choose a bead with a wider hole or switch to a finer needle and thread rather than forcing the fit.
For everyday production and hand-embroidery work, 3mm black embroidery glass beads offer neutral, high-contrast accents that pair with nearly any color scheme. They also make a fair test of your setup: if a standard 3mm bead behaves well, the rest of your bead selection will too.
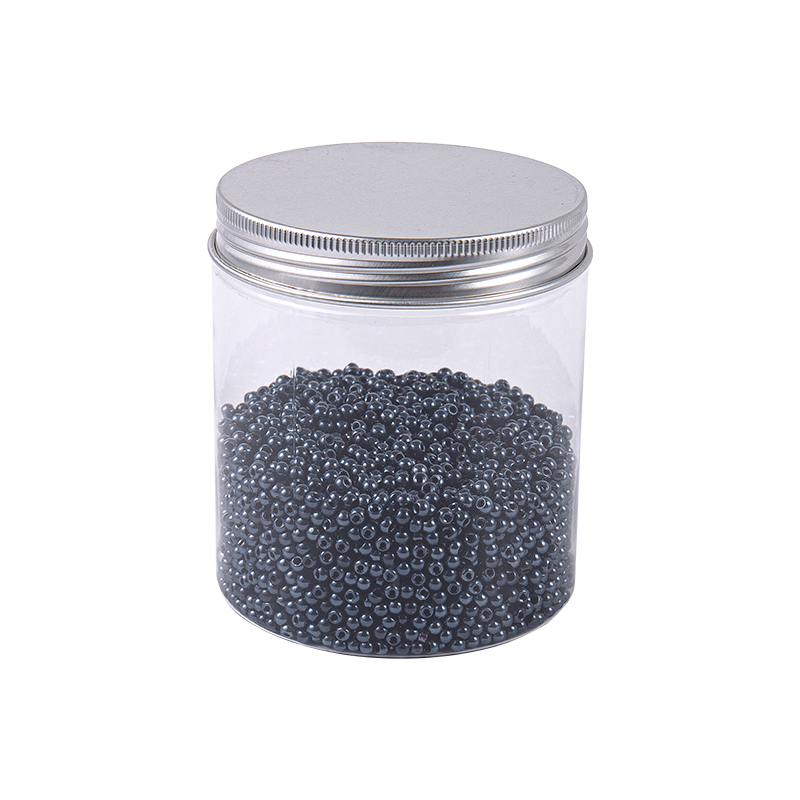 Wholesale 3.0mm Black Embroidery Glass Beads Suppliers, Factory - Shaoxing QiufeShaoxing Qiufei Textile Technology Co., Ltd is China wholesale 3.0mm Black Embroidery Glass Beads manufacturers and factory, details:The ...View Product →
Bead embroidery needs only a few tools, but each affects the result. A beading needle is the most obvious upgrade. Unlike a crewel needle, a beading needle stays thin along its entire shaft, not just at the eye, so it passes through small bead holes without splitting the thread.
Use a size 10 or 12 beading needle for seed beads and a size 10 for most 3mm glass beads. Keep a second needle threaded for background stitching so you do not have to switch thread types mid-design. Stretch the fabric in a hoop or frame before adding beads; loose fabric will sag under the weight of a long beaded row.
The thread does more than hold the bead; it determines how smoothly the bead settles against the fabric. Polyester embroidery thread is the most reliable choice because it has low stretch, passes through beads without shredding, and resists water damage during laundering. A 108D/2 polyester embroidery thread handles hand bead work well, while heavier designs benefit from the thicker 150D/2 construction. Avoid waxed or heavily twisted threads for bead loading; wax builds up inside the bead hole and attracts lint.
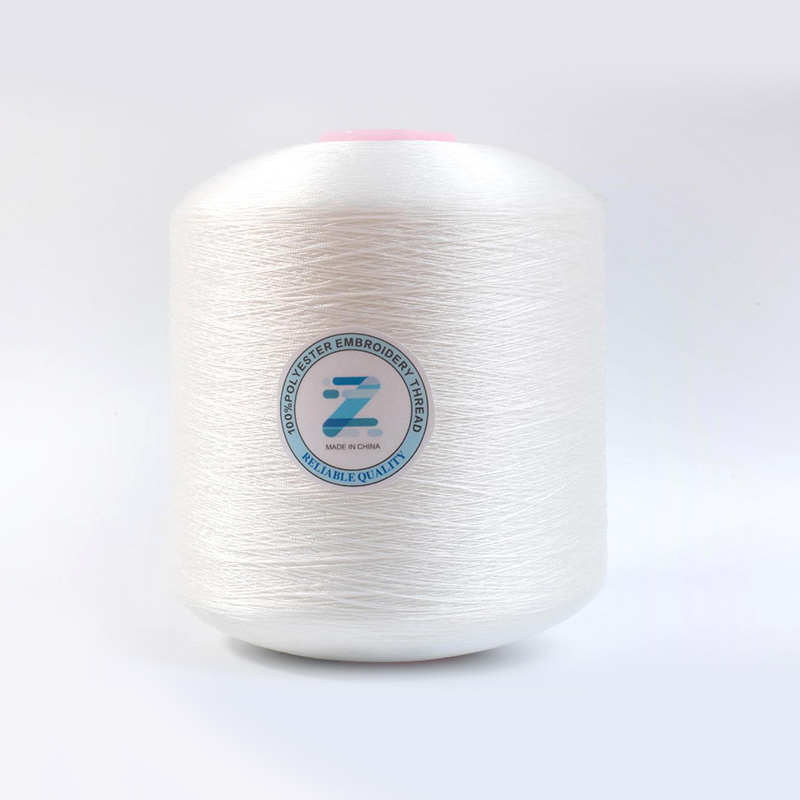 Wholesale 108d/2 100% Poly Embroidery Thread Various Colors Floriani Embroidery Shaoxing Qiufei Textile Technology Co., Ltd is China wholesale 108d/2 100% Poly Embroidery Thread Various Colors Floriani Embroidery Thre...View Product →
If you are stitching on a transparent or pale fabric, match the thread to the fabric rather than the bead. The thread will show through a clear bead, and the wrong color creates a visible halo around every accent.
Once the materials are prepared, the techniques are straightforward. All bead embroidery builds on the same motion: bring the needle up, load a bead, take the needle back down, and secure the thread. The differences come in how many beads you load and where the needle re-enters the fabric.
Bring the needle up at the bead position. Slide one bead down the thread to the fabric. Take the needle back down immediately on the other side of the bead, as close as possible without cutting the thread. Pull gently until the bead sits upright. For a raised effect, go down one thread-width away so the bead stands slightly off the surface.
Load two beads, then take the needle down after the second bead. Bring the needle up between the two beads, pass it through the second bead again, and load one or two more. This creates a smooth, continuous line of beads and is the most reliable method for curved borders and lettering.
For long straight lines, thread several beads onto a long stitch, then make a tiny anchoring stitch between every two or three beads. This distributes tension evenly and prevents the thread from showing between beads. The method also keeps the beads lying flat instead of following every contour of the fabric.
These stitches are the same techniques used in cross-stitch and hand embroidery, so once you practice them on a small hoop, you can transfer the skill to garments, patches, and home textiles.
The fabric determines how much bead weight it can carry. A single 3mm glass bead weighs very little, but a border of several hundred beads creates real tension on the ground fabric. Dense fabrics such as denim, canvas, wool suiting, and felt support bead embroidery without a stabilizer. Lightweight silks, linens, and knits require a backing or interfacing to prevent distortion.
Bead embroidery is not limited to hand work. Industrial applications such as industrial machine embroidery use beads in series, often guided by a hopper feed or by pre-threading multiple beads onto the upper thread. Machine bead embroidery demands beads with consistent outer diameter and hole position; a single misshapen bead can break a needle or jam the thread path. Hand stitching is more forgiving, but the same principle applies: sort your beads before starting and set aside any that are not uniform.
For garments, consider how the bead surface interacts with the body. Round, smooth glass beads are comfortable on collars and cuffs. Faceted or polyhedron beads catch light better but can feel abrasive against the skin in high-movement areas. Reserve those for decorative panels that do not touch the neck or underarms.
Bead placement is easier to adjust on paper than on fabric. Map the design before stitching, marking each bead position with a water-soluble pen. Test a small section first, especially for curved lines and corners. The two-bead backstitch follows curves naturally, while the single bead stitch works better when a pattern calls for evenly spaced dots rather than a continuous line.
Color planning is where most embroiderers lose time. Glass beads reflect and scatter light, so a bead appears slightly lighter than its static color suggests. Pearl-style and metallic finishes intensify this effect. If the design relies on subtle tonal shading, choose beads one shade deeper than the thread color you would normally use.
When you need to coordinate beads with thread across multiple orders, use a physical reference rather than screen colors. A shade card and color swatch reference helps match polyester embroidery thread to bead finishes with far more accuracy than a monitor. For soft, pearl-toned designs, white pearl-style 3mm embroidery glass beads are a versatile accent that works on pastel fabrics and bridal pieces alike.
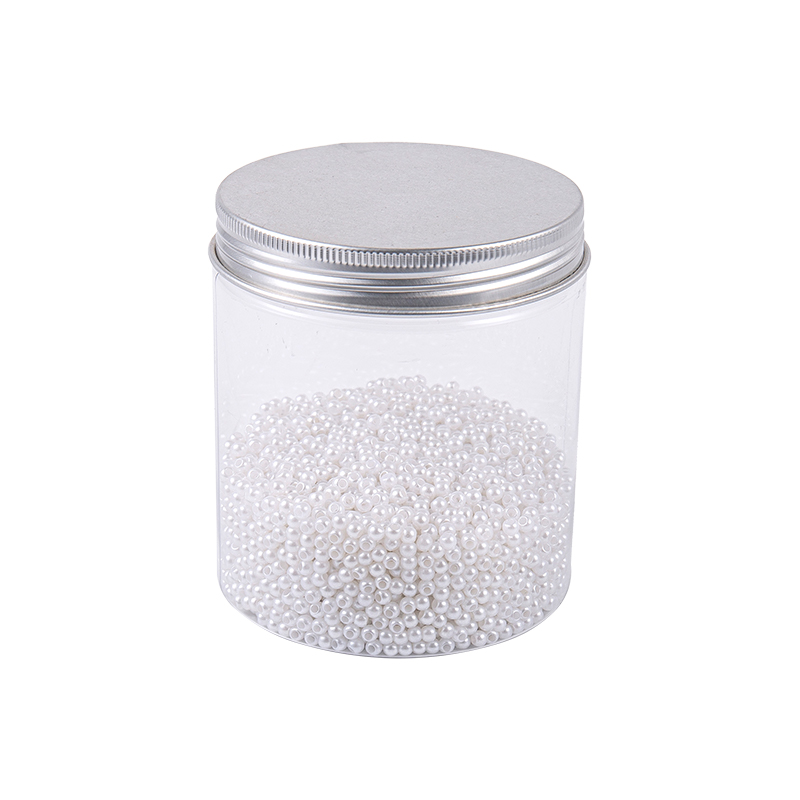 Wholesale White Pearl style 3.0mm Embroidery Glass Beads Suppliers, Factory - ShShaoxing Qiufei Textile Technology Co., Ltd is China wholesale White Pearl style 3.0mm Embroidery Glass Beads manufacturers and factory, ...View Product →
A bead falls off for one of three reasons: the thread breaks, the knot unravels, or the fabric tears. All three are preventable with simple habits.
Washing bead-embroidered items requires care. Most glass beads are washable in cold water, but they can scratch one another during the cycle. Hand wash or use a mesh bag, and always test a sample swatch before washing the finished garment. Polyester thread holds its color and strength through standard laundering, which makes it the safest partner for machine-stitched bead designs.
Finally, store bead-embroidered pieces flat or rolled rather than folded. Folding creases the fabric under the beads and slowly stretches the thread around each bead hole. Flat storage keeps the stitches relaxed and the beads aligned, so the piece stays as clean as the day it left the hoop.
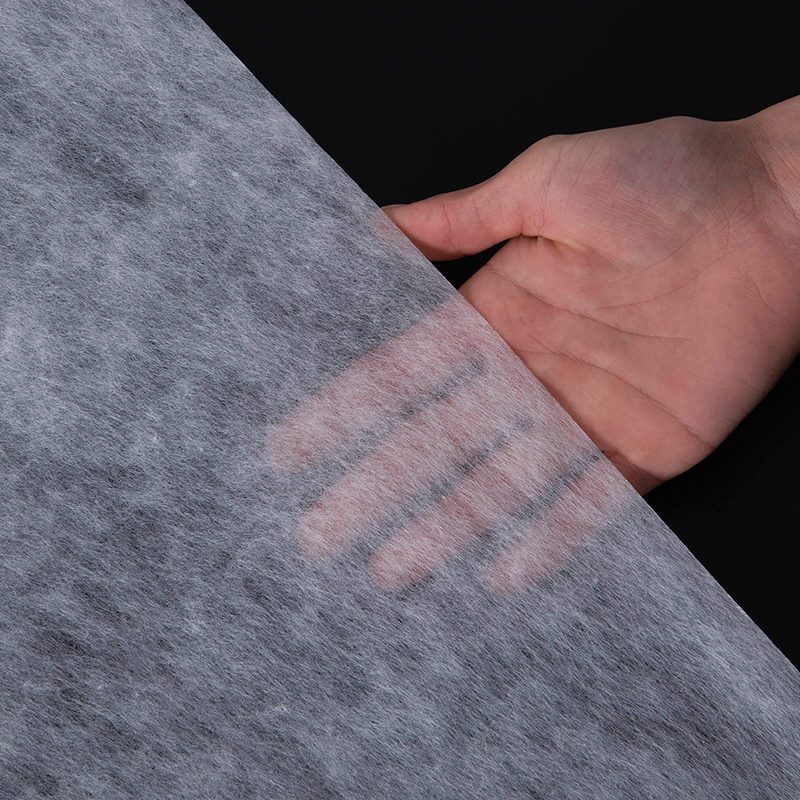
What Fabric Is Non-Woven? A Complete Guide to Non-Woven and Specialty Fabrics
2026-08-05
How to Embroider a Logo: Step-by-Step Guide for Clean, Lasting Results Every Time
2026-08-19Your email address will not be published. Required fields are marked *
*Indicates a required field
Copyright © Shaoxing Qiufei Textile Technology Co., Ltd.  Custom Embroidery Thread Yarn Manufacturers