

 عربى
عربىNEWS
Home / News / Industry News / How to Embroider a Logo: Step-by-Step Guide for Clean, Lasting Results Every Time
75/36 100% elastic yarn 20D Denier air-wrapped yarn: innovative technology improves fabric breathability
Jun 06,2025
Unraveling the Durability: Why Polyester Embroidery Thread Reigns Supreme
Jun 06,2025
The power of nonwovens: how non-woven fabrics impact modern life
Jun 06,2025
From strength to protection: Nylon cable performance and selection guide for various applications
Jun 06,2025
Creative Ways to Incorporate Sequin Yarn into Clothing Designs for Stunning Visual Effects
Jun 06,2025Content
Put your logo on a shirt, and you have a choice: print it or stitch it. Printed logos fade, crack, and peel after a dozen wash cycles, while embroidered logos routinely survive fifty or more industrial washes. That is why police uniforms, airline crew apparel, and delivery company workwear are almost always embroidered. Getting from a digital logo file to a clean, repeatable stitch-out, however, takes more than just loading a design and pressing start. You need to prepare the artwork, digitize the design, choose the right thread, select a stabilizer, and position the logo precisely. Get those steps right and the rest of the process becomes predictable.
Embroidery is a physical process: a needle pushes thread through fabric hundreds or thousands of times per design. A logo that looks great on screen will not automatically survive the transition to stitches. Gradients cannot be reproduced directly; they must be reduced to solid color blocks or halftone effects. Thin strokes narrower than about 0.5 mm tend to drop stitches or look broken, and tiny serif lettering becomes unreadable once thread thickness is added.
Follow these rules before you send the logo to digitizing:
Digitizing turns the artwork into a machine-readable file. Commercial embroidery machines normally read DST, while home machines often use PES, EXP, or other formats. If you work with a digitizer, provide a vector file such as AI, SVG, or EPS at the final stitch size; a low-resolution PNG will not give clean node positions for curved letters.
You will see three stitch types in any digitized logo file:
Stitch density is equally important. Too high, and the design feels stiff and can distort the fabric; too low, and the background shows through while the edges look frayed. A good digitized logo includes underlay stitching that holds the garment fibers in place during the top stitching. For very simple shapes, auto-digitizing software can work, but curves, overlapping colors, and fine text almost always come out cleaner when a professional digitizer sets the stitch angles and underlay manually. Always request a test stitch-out on the actual fabric before committing to a production run.
Thread choice affects how the logo looks, how long it lasts, and how smoothly the machine runs. For most logo work, a 40 weight polyester thread, roughly a 120D/2 construction, is the safest starting point. It has enough tensile strength for high-speed machines, resists UV and chlorine better than rayon, and suits the stitch density that most digitized files assume. In bulk production, a consistent 120D/2 polyester embroidery thread keeps color uniform from one batch to another.
 Wholesale Polyester Filament Embroidery Thread 120D/2 Suppliers, Factory - ShaoxShaoxing Qiufei Textile Technology Co., Ltd is China wholesale Polyester Filament Embroidery Thread 120D/2 manufacturers and factory, det...View Product →
For small, dense elements such as monogram lettering, a finer 108D/2 polyester embroidery thread lays flatter, avoids a stiff board-like feel, and helps tiny letters stay legible. Rayon thread gives a glossier look for fashion pieces but has weaker wash fastness, so reserve it for garments that will not face frequent heavy laundering. Cotton thread is a strong choice for towels and high-absorbency textiles because it blends with the fabric surface.
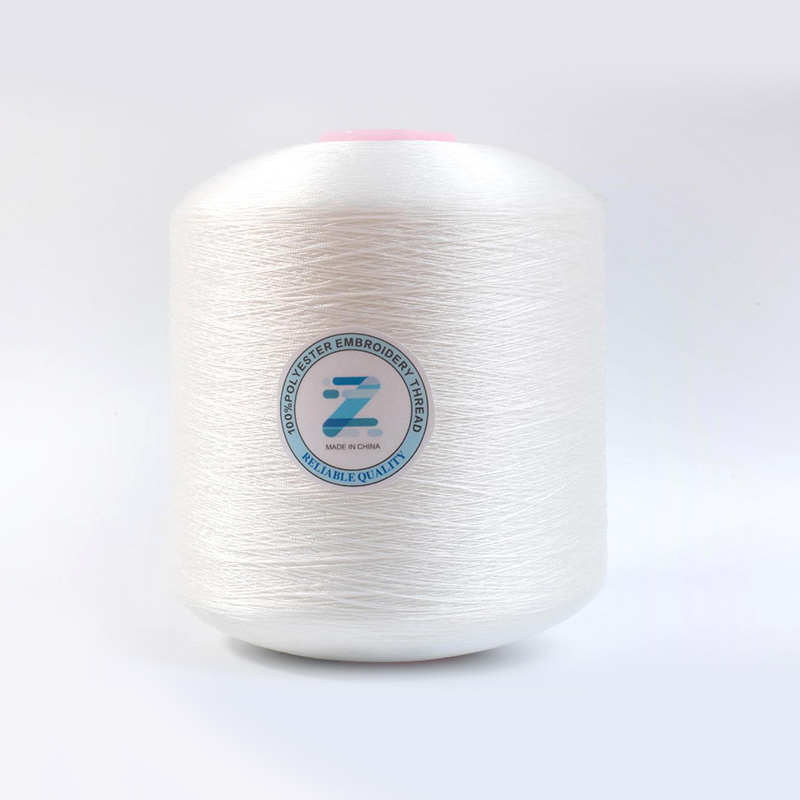 Wholesale 108d/2 100% Poly Embroidery Thread Various Colors Floriani Embroidery Shaoxing Qiufei Textile Technology Co., Ltd is China wholesale 108d/2 100% Poly Embroidery Thread Various Colors Floriani Embroidery Thre...View Product →
If the difference between 30, 40, and 60 weight thread is new to you, the embroidery thread thickness guide explains how the numbers relate to coverage and durability. Keep a physical shade card near your production area as well. Thread colors that look identical on a monitor can look different on different fabric backgrounds, and a shade card removes that guesswork before you thread twenty needles.
Stabilizer is the hidden support layer that keeps stitches flat while the needle moves up and down. Without it, the fabric stretches, the logo distorts, and the result looks unprofessional. Choose stabilizer by fabric type and end use:
On thin or delicate materials, water-soluble backing is also used as a topping sheet over the fabric. A 90C hot-water-soluble non-woven fabric, for example, disappears completely in a warm-water rinse and leaves no residue under the stitched logo.
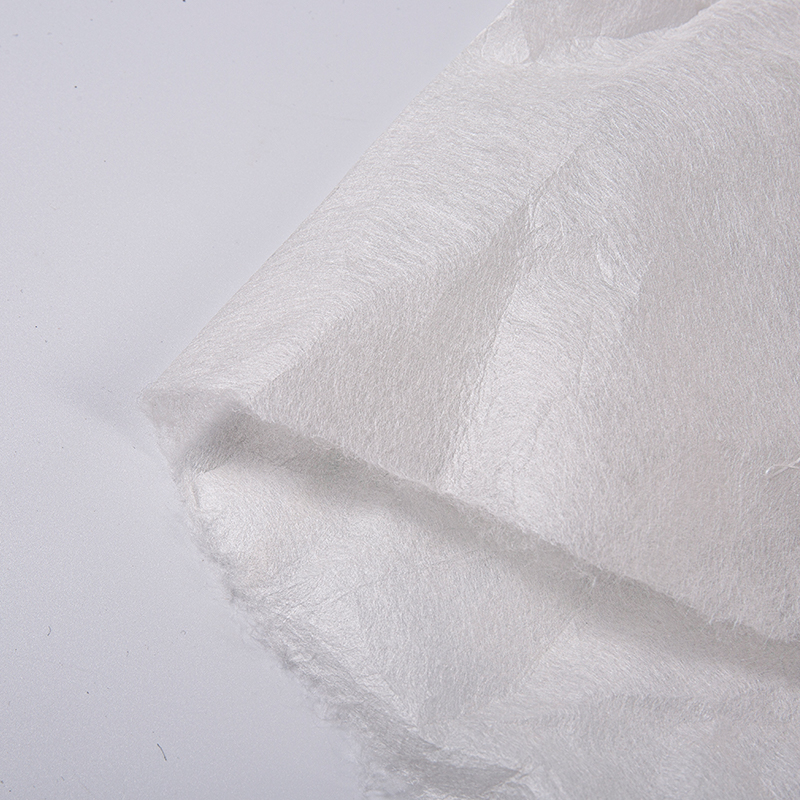 Embroidery Water Soluble Non Woven Fabric Suppliers, FactoryAs China Water Soluble Non Woven Fabric Suppliers and Factory, Shaoxing Qiufei Textile provide wholesale 90C Hot Water Soluble Non Woven ...View Product →
Another common mistake is reusing stabilizer scraps. A backing that has already been hooped once has lost its dimensional stability, and the next design stitched over it can shift or pucker. Use fresh stabilizer for every garment, especially in longer production runs.
Placement is part of the design, not an afterthought. Standard positions follow a few rules of thumb:
Hooping is where most beginners fail. The fabric must lie flat inside the hoop but never be stretched tight; a knit that is pulled during hooping puckers as soon as the hoop is removed. For slippery or thin fabric, use a temporary adhesive spray on the stabilizer to hold the garment in place without distorting the weave. Many machines also offer a placement mode that outlines the design area on screen, which is useful for checking the position before the first stitch.
Machine settings separate a crisp logo from a tangled nest of thread. Match the needle to the thread and fabric:
Replace the needle after every eight to ten hours of run time. A burred needle causes skipped stitches and random thread breaks, and a fresh needle is far cheaper than a rejected garment. Balance the top tension so that only a trace of bobbin thread appears on the underside, and lower the speed for small or complex designs to reduce needle deflection. Home machine owners should also check the stitch count of the file; consumer models typically handle 10,000 to 25,000 stitches comfortably, while commercial machines run far higher without issue.
When you scale up to regular production, the workflow changes: multiple machine heads, longer run times, and more dependence on consistent thread tension and color batches. Workshops running multi-head equipment will find that choosing the correct thread format and packaging matters as much as the file itself, and the requirements for industrial machine embroidery applications differ from single-head use.
Even a well-prepared logo hits occasional production issues. The three most frequent complaints are thread breaks, puckering, and visible bobbin thread. Each has a predictable cause and a straightforward fix.
| Problem | Likely cause | Fix |
|---|---|---|
| Thread breaks mid-design | Burred needle, excessive tension, or weak thread | Fit a fresh needle, re-balance tension, and inspect the thread path for snags |
| Puckering around the logo | Insufficient stabilizer or overly dense stitching | Switch to cut-away or use a firmer stabilizer; reduce stitch density in the digitized file |
| Bobbin thread visible on the surface | Top tension too loose or bobbin tension too tight | Tighten the top tension gradually and test again on scrap fabric |
Even with good troubleshooting habits, the thread quality underneath matters. Filament polyester threads with consistent twist and proper post-treatment break less often and produce cleaner logos than bargain reels of unknown origin. Review a shade card against your fabric range before ordering, and keep small cuttings of each production fabric as references for tension and stabilizer choices. Keep the machine clean, the bobbin wound evenly, and the thread path free of dust, and most of these problems will not appear in the first place. With the right artwork, digitizing, thread, stabilizer, and settings, an embroidered logo becomes a repeatable result rather than a gamble.
How to Use Beads in Embroidery: A Practical Guide to Glass Bead and Seed Bead Techniques
2026-08-12
How to Embroider with a Machine: A Beginner's Guide to Thread, Stabilizer & Hooping
2026-08-26Your email address will not be published. Required fields are marked *
*Indicates a required field
Copyright © Shaoxing Qiufei Textile Technology Co., Ltd.  Custom Embroidery Thread Yarn Manufacturers