عربى
عربى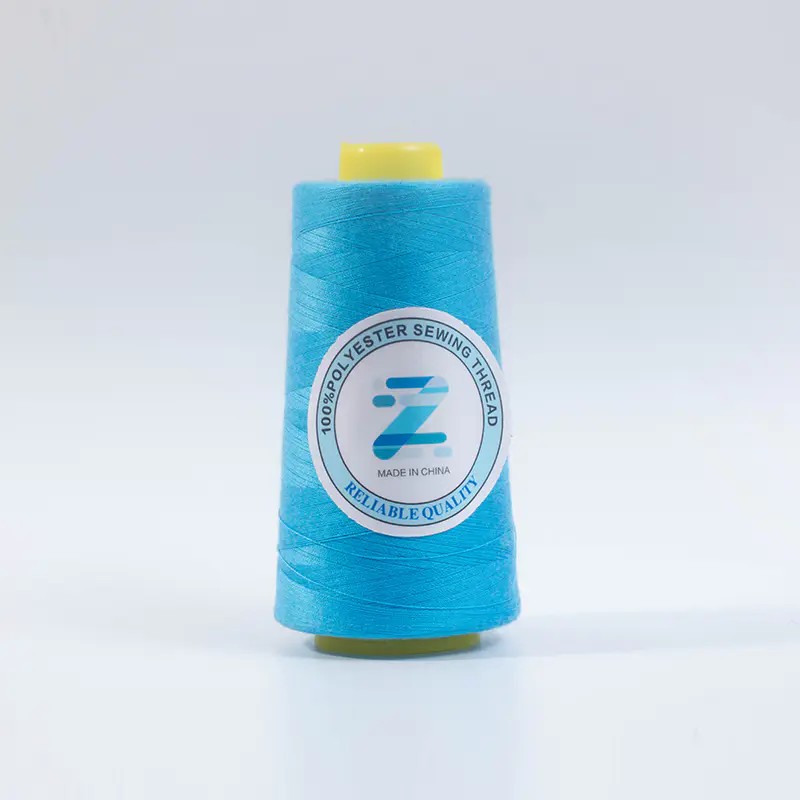
Content
- 1 What You Need Before You Start Tying
- 2 Step-by-Step: How to Tie a Quilt with Embroidery Thread
- 3 Choosing the Right Thread: Polyester, Rayon, or Nylon for Quilt Tying
- 4 Thread Comparison at a Glance
- 5 Tie Spacing: How Far Apart Should Quilt Ties Be Placed
- 6 Knot Types for Quilt Tying: Which Knot Holds Best
- 7 How to Use Sewing Thread for Quilt Tying
- 8 Common Mistakes When Tying a Quilt and How to Avoid Them
- 9 Tying vs. Quilting: When to Choose Tying
To tie a quilt with embroidery thread, cut a length of thread, push it through all three quilt layers at regular intervals, and secure each tie with a square knot pulled tight enough to dimple the surface slightly. The entire process requires no sewing machine — just a large-eye needle, scissors, and the right thread. For most quilts, ties are spaced 4–6 inches apart, which is sufficient to hold the batting in place without full quilting stitches.
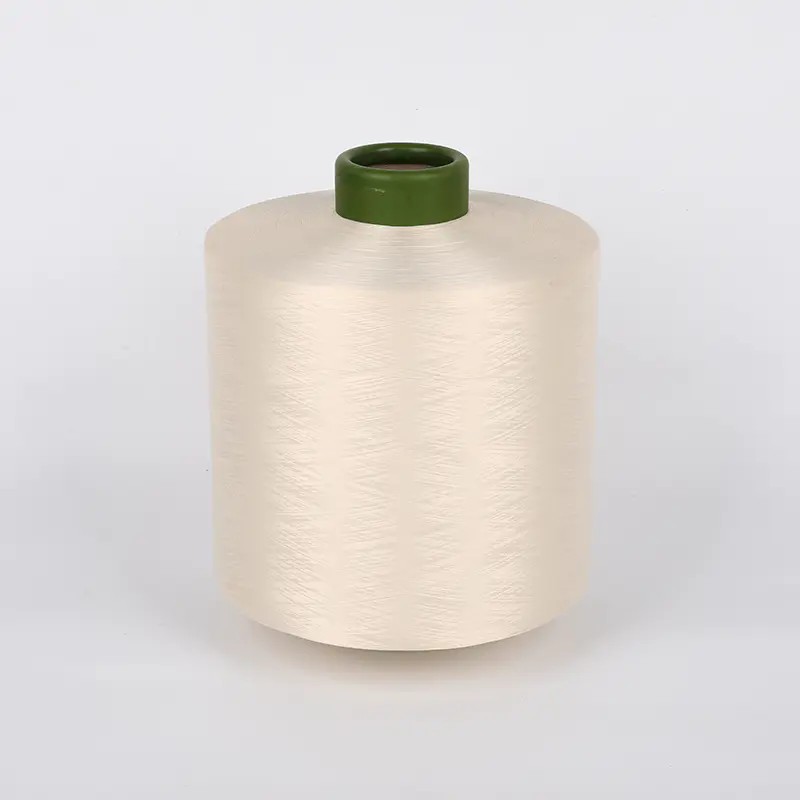
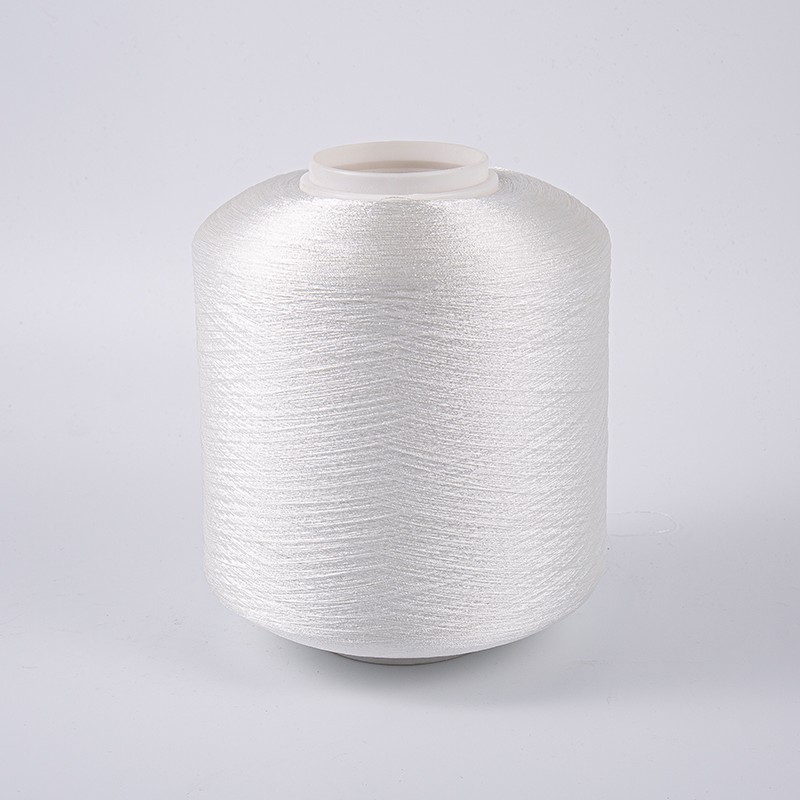
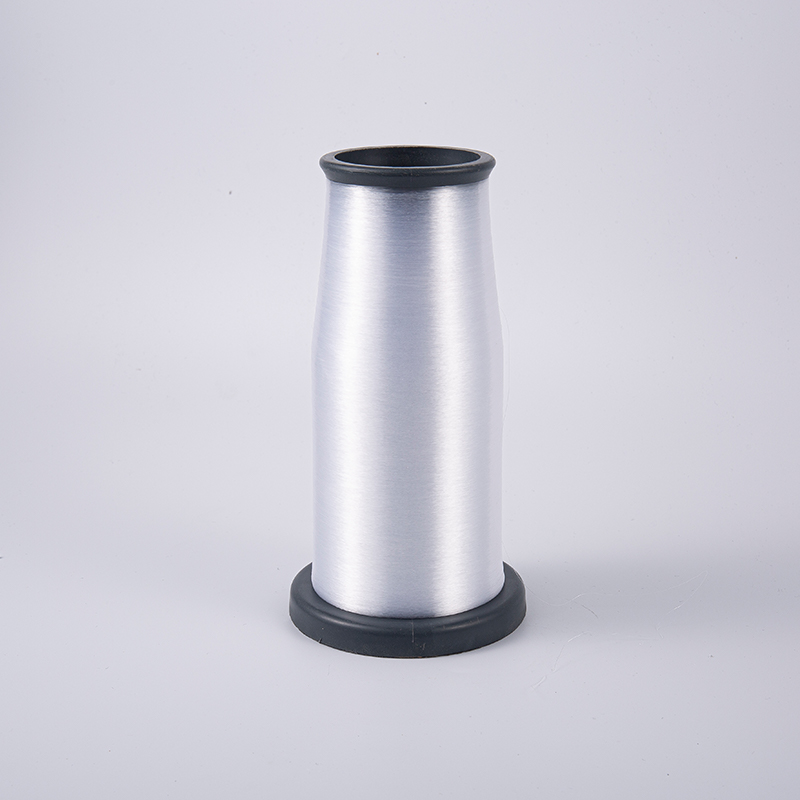
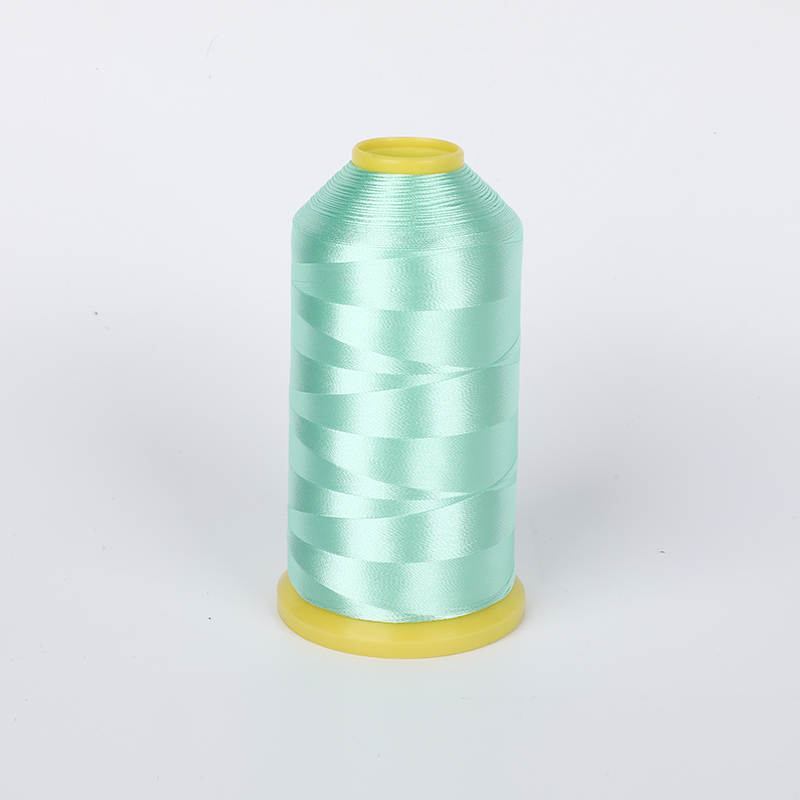
Embroidery thread is one of the best choices for quilt tying because of its strength, thickness, and decorative appearance. The specific type — whether polyester embroidery thread, rayon embroidery thread, or nylon stitching thread — affects durability, sheen, and how well the knots hold over repeated washing. This guide covers the full technique and helps you choose the right thread for your quilt.
What You Need Before You Start Tying
Gathering the right materials before you begin prevents interruptions mid-project and ensures cleaner, more consistent ties across the entire quilt.
Essential Supplies
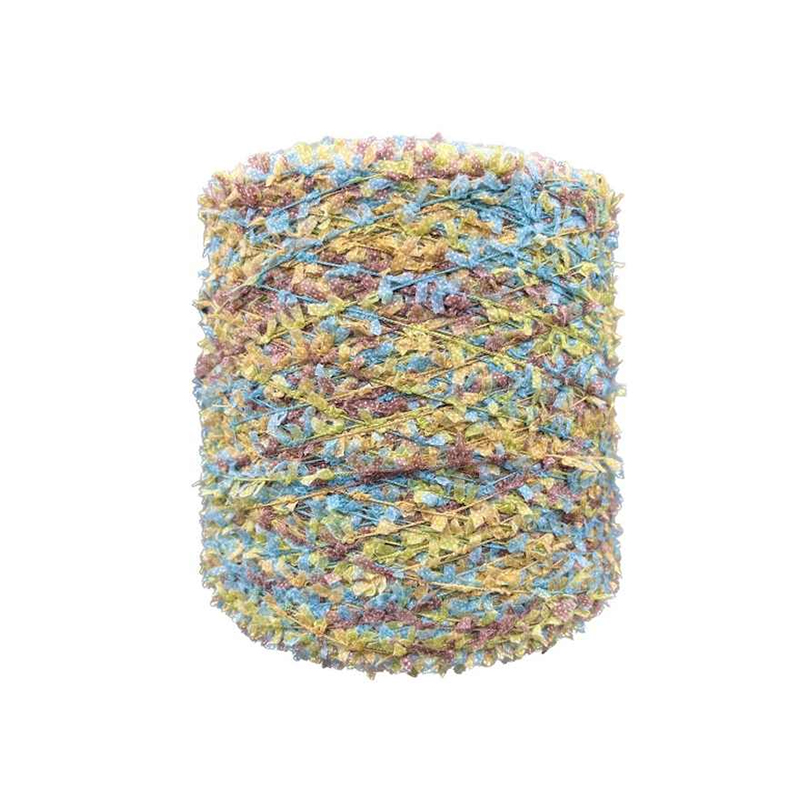
- Embroidery thread or perle cotton: Choose 6-strand embroidery floss used as a full strand, or a thicker perle cotton (size 8 or 12). Both provide sufficient bulk for visible, secure knots.
- Large-eye needle: A chenille needle (sizes 18–22) or tapestry needle works best. The eye must be large enough to thread multiple strands without fraying.
- Sharp scissors: For clean cuts that prevent fraying at the tail ends of each tie.
- Fabric marker or chalk: To mark tie points evenly across the quilt top before you begin.
- Ruler or quilting grid: For spacing ties consistently at 4–6 inch intervals.
- Safety pins or basting spray: To hold the quilt sandwich (top, batting, backing) together while tying.
- Hard flat surface: A table large enough to spread the quilt flat prevents shifting during the process.
How Much Thread to Prepare
For a standard throw quilt (approximately 50 × 60 inches) tied every 5 inches, you will need roughly 110–130 tie points. Each tie requires about 6–8 inches of thread. Threading your needle with a long length of approximately 36 inches and working through multiple tie points in a row before cutting saves significant time.
Step-by-Step: How to Tie a Quilt with Embroidery Thread
Follow this sequence for clean, consistent, durable ties across your entire quilt.
- Prepare and baste the quilt sandwich: Layer the backing (face down), batting, and quilt top (face up) on a flat surface. Smooth out all wrinkles from the center outward. Pin-baste with safety pins every 6–8 inches across the entire surface, or use basting spray to hold the layers together.
- Mark your tie points: Use a fabric marker and ruler to mark a grid across the quilt top at your chosen interval — 4 inches for lofty batting, 6 inches for denser batting. Marks can be placed at block intersections in patchwork quilts to make spacing more natural.
- Thread your needle with a full length of embroidery thread: Cut approximately 36 inches of thread. For 6-strand embroidery floss, use all 6 strands together for the best knot bulk and visibility. Do not knot the end.
- Push the needle straight down through all layers: At your first marked point, insert the needle from the top surface straight through all three layers — quilt top, batting, and backing.
- Bring the needle back up close to the entry point: Re-insert from the backing side approximately ¼ inch (6mm) away from where you went down, pushing back up through all layers to the quilt top. Pull the thread through, leaving a 3-inch tail at the start.
- Move to the next tie point without cutting: Slide the needle along the surface to the next marked point and repeat the down-and-up stitch. Continue across the row, leaving a length of thread between each tie point that you will cut later.
- Cut threads between tie points: Once you have stitched several points in a row, cut the connecting thread between each pair of tails, leaving 3 inches on each side of every tie point.
- Tie a square knot at each point: At each tie point, bring both tails together and tie a square knot: right tail over left and under, then left tail over right and under. Pull firmly until the knot dimples the quilt surface slightly — this secures all three layers together effectively.
- Trim the tails to uniform length: Trim both tails to approximately ¾ inch to 1 inch for a tidy appearance, or leave up to 1.5 inches if you prefer a more decorative, fringe-like look.
To place knots on the quilt backing instead of the top, simply start your needle from the backing side and finish on the top, then flip your knotting direction. This is a popular choice when the quilt top fabric is delicate or light-colored.
Choosing the Right Thread: Polyester, Rayon, or Nylon for Quilt Tying
Thread type is the most consequential material decision in quilt tying. The wrong thread can result in knots that slip, fibers that shred after a few washes, or colors that fade quickly. Here is how the three main embroidery thread types compare for quilt tying applications.
Polyester Embroidery Thread
Polyester embroidery thread is the most practical all-around choice for quilt tying, especially for quilts intended for regular use and frequent washing. It combines excellent durability with good color retention and moderate sheen.
- Durability: Polyester has a tensile strength approximately 20–30% higher than equivalent rayon thread, making knots far less likely to break under stress or after repeated laundering.
- Colorfastness: Polyester thread holds dye exceptionally well, resisting fading through hot water washing and tumble drying — important for quilts washed frequently.
- Sheen: Moderate, slightly less luminous than rayon, which suits quilts where the fabric pattern rather than the thread is meant to be the focal point.
- Knot security: Ties hold firmly; polyester's slight elasticity allows the knot to absorb stress without cutting into fabric.
- Best for: Children's quilts, everyday-use throw quilts, quilts that will be machine washed regularly.
Rayon Embroidery Thread
Rayon embroidery thread is prized for its brilliant, silk-like luster — it produces ties that visually stand out and add an elegant decorative element to a quilt top.
- Sheen: Rayon has the highest sheen of the three thread types, with a visual quality close to silk. Ties catch light attractively on solid-color or dark quilt fabrics.
- Softness: The thread feels noticeably softer than polyester, which is an advantage for quilts where the tails are left long as a decorative element.
- Durability limitations: Rayon is weaker than polyester when wet, losing up to 30–40% of its tensile strength in water. This makes knots more vulnerable to loosening or breaking in laundering.
- Color sensitivity: Rayon thread can fade more quickly than polyester under UV exposure or with repeated hot-water washing. Cold water washing is recommended.
- Best for: Decorative wall quilts, display pieces, heirloom quilts, or any quilt where appearance is prioritized over heavy-use durability.
Nylon Stitching Thread
Nylon stitching thread is the strongest of the three by tensile measure, and it is highly resistant to moisture, mildew, and chemical damage. However, its physical characteristics create specific trade-offs for quilt tying.
- Strength: Nylon thread can have a tensile strength 2–3 times higher than equivalent polyester thread by weight — it is extremely difficult to break by hand.
- Knot slippage risk: Nylon is a slick, monofilament or twisted smooth fiber. Square knots can slip and loosen over time, especially in thinner nylon thread. Using a surgeon's knot (three passes instead of two) is recommended.
- Stiffness: Standard nylon stitching thread is stiffer than rayon or polyester floss and may feel scratchy at tie points, which is a consideration for quilts used against bare skin.
- UV sensitivity: Standard nylon degrades under prolonged UV exposure, which can weaken ties over time on display quilts placed near windows.
- Best for: Outdoor quilts, camping or utility quilts, or quilts that need maximum structural integrity and will not be used directly against skin.
Thread Comparison at a Glance
| Property | Polyester Embroidery Thread | Rayon Embroidery Thread | Nylon Stitching Thread |
|---|---|---|---|
| Tensile Strength | High | Moderate (lower when wet) | Highest |
| Sheen / Appearance | Moderate | High (silk-like) | Low to moderate |
| Wash Durability | Excellent | Fair (cold wash only) | Excellent |
| Colorfastness | Excellent | Moderate | Good |
| Knot Security | Excellent | Good | Fair (slippage risk) |
| Softness at Tie Point | Soft | Softest | Stiff |
| UV Resistance | Good | Moderate | Fair (degrades over time) |
| Best Use Case | Everyday-use quilts, children's quilts | Decorative, display, heirloom quilts | Utility, outdoor, heavy-duty quilts |
Tie Spacing: How Far Apart Should Quilt Ties Be Placed
Spacing is determined by your batting type, not personal preference. Batting manufacturers specify a maximum recommended quilting distance — exceeding this causes the batting to shift, bunch, and deteriorate over time.
| Batting Type | Max Recommended Tie Spacing | Notes |
|---|---|---|
| 100% Cotton batting | 3–4 inches | Prone to shifting; needs closer ties |
| Cotton/Polyester blend (80/20) | 4–6 inches | Most common batting; versatile spacing |
| 100% Polyester batting | 6–8 inches | Bonded polyester holds shape well |
| Wool batting | 4–6 inches | Felts slightly with washing; stable |
| Bamboo or silk batting | 3–4 inches | Lightweight, slippery; needs closer ties |
Always check the batting's packaging for the manufacturer's specific recommendation. If the packaging is unavailable, default to 4-inch spacing, which is safe for nearly all batting types.
Knot Types for Quilt Tying: Which Knot Holds Best
The type of knot you tie directly determines whether the ties stay secure through years of use and washing. Not all knots are equal — the granny knot, a common mistake, loosens under repeated stress, while the square knot holds firmly.
Square Knot (Recommended)
The square knot — right over left, then left over right — is the standard choice for quilt tying. It lies flat, holds securely under tension, and does not loosen easily with movement or washing. Always confirm you are tying a square knot, not a granny knot (right over left twice), which loosens with lateral stress.
Surgeon's Knot (For Slippery Thread)
When using nylon stitching thread or any slick thread type, replace the first pass of the square knot with a double wrap: right tail over left twice, then complete with left over right once. This extra friction prevents the first half of the knot from slipping before you secure the second half — a common issue with smooth synthetic threads.
Bow Knot (Decorative Only)
Bows look attractive on display quilts or baby quilts but are not secure for everyday use. If using a bow finish, always tie a complete square knot underneath first, then form the bow loops over it for a decorative effect that will not unravel.
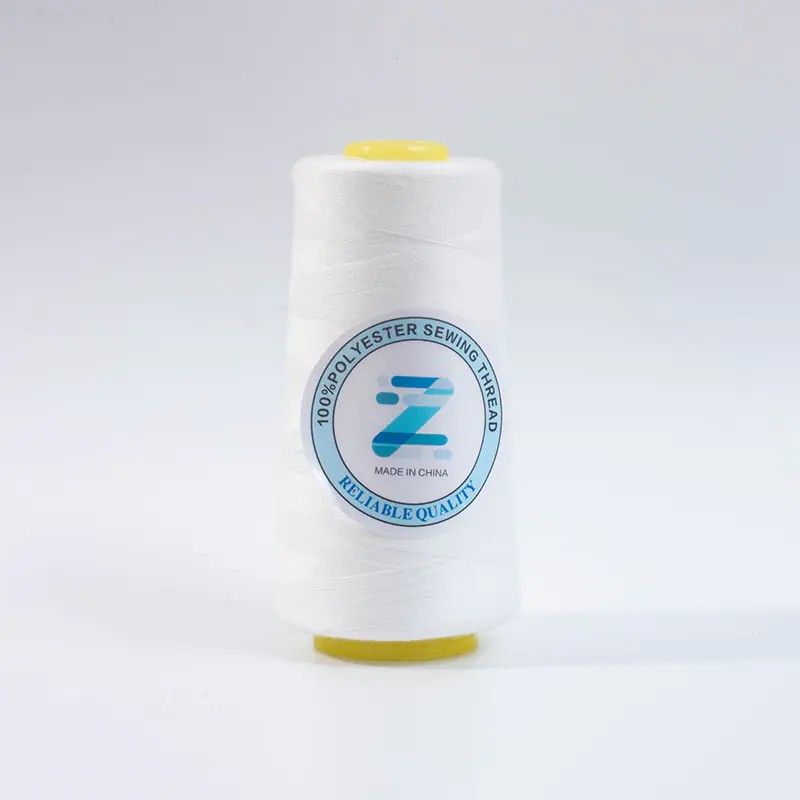
How to Use Sewing Thread for Quilt Tying
Standard sewing thread — the single-strand thread used in sewing machines and hand sewing — is generally not recommended as a first choice for quilt tying because of its thin diameter. A single strand of general sewing thread can cut through quilt fabric under tension, especially at batting-heavy points or when the quilt is pulled firmly.
However, sewing thread can be used effectively if you compensate for its thinness:
- Use multiple strands simultaneously: Thread the needle with 4–6 strands of sewing thread at once, treating them as a single thicker thread. This creates enough bulk for visible, secure knots.
- Choose heavy-duty or topstitching thread: Topstitching thread (size 30–40) is approximately twice as thick as standard all-purpose thread and works well for tying when used as a single strand.
- Use quilting thread rather than sewing thread: Quilting thread is coated with wax or glaze, making it stronger and more resistant to knotting. It is a significantly better choice than standard sewing thread for tying applications.
For consistent, dependable results, polyester embroidery floss or perle cotton remains the most reliable and widely recommended choice over standard sewing thread for quilt tying.
Common Mistakes When Tying a Quilt and How to Avoid Them
Most problems with tied quilts trace back to a handful of avoidable errors at the planning or execution stage.
- Skipping basting: Tying without basting allows the quilt layers to shift during the process, creating puckers on the backing. Always baste before placing the first tie.
- Ties too far apart: Exceeding the batting's maximum recommended spacing leads to batting migration and lumpiness after washing. Use the spacing table above as your guide.
- Tying a granny knot instead of a square knot: A granny knot (right over left twice) loosens with stress. Check your knot by observing whether both tails exit in opposite directions — this confirms a true square knot.
- Knots too loose: Ties that do not slightly dimple the quilt surface will shift and eventually work themselves free. Pull firmly enough to compress the batting slightly at each tie point.
- Using rayon thread for a washable quilt: Rayon loses significant strength when wet. Repeated machine washing causes rayon ties to fray and break, leading to internal batting migration. Use polyester thread for any quilt that will be laundered regularly.
- Tails cut too short: Tails trimmed to less than ½ inch can work their way back through the knot over time. Keep tails a minimum of ¾ inch for reliable long-term security.
Tying vs. Quilting: When to Choose Tying
Quilt tying is not a shortcut — it is the appropriate finishing method for specific quilt types. Understanding when tying is the better choice helps you make an intentional decision rather than a compromise.
- Thick or lofty batting: High-loft polyester batting (2 inches or more) is difficult to machine quilt and nearly impossible to hand quilt evenly. Tying is the practical and traditional finishing method for these batting types.
- Comforters and duvet-style quilts: These are designed to be fluffy and warm — dense machine quilting compresses the batting and reduces loft. Tying preserves the intended volume.
- Charity quilts or speed projects: A skilled quilter can tie a full throw quilt in under 2 hours. Machine quilting the same quilt might take 6–10 hours or require professional longarm services costing $80–$200.
- When decorative thread tails are a design feature: Visible knots and tails on the quilt top add a folk or handmade aesthetic that suits certain quilt styles intentionally.
Machine or hand quilting is the better choice when the quilt top features intricate piecing you want to highlight with stitching lines, or when maximum durability and batting stability are required for a frequently used quilt. For most home quilters making cozy, functional throws, tying with polyester embroidery thread is fast, reliable, and produces a beautiful result.