

 عربى
NEWS
Home / News / Industry News / How to Embroider by Hand: A Beginner's Guide to Stitches, Threads, and Tools
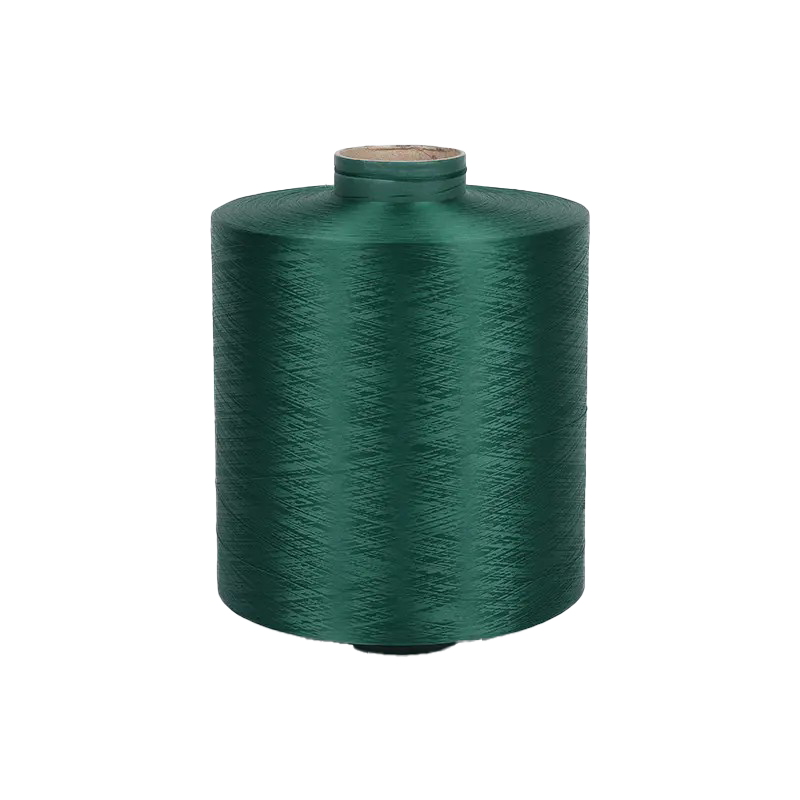
75/36 100% elastic yarn 20D Denier air-wrapped yarn: innovative technology improves fabric breathability
Jun 06,2025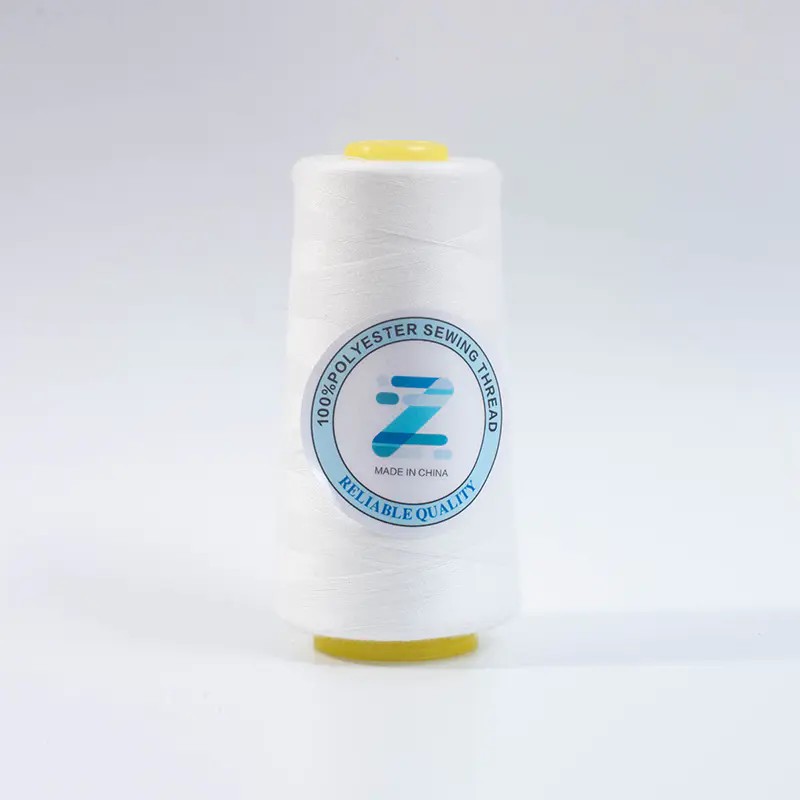
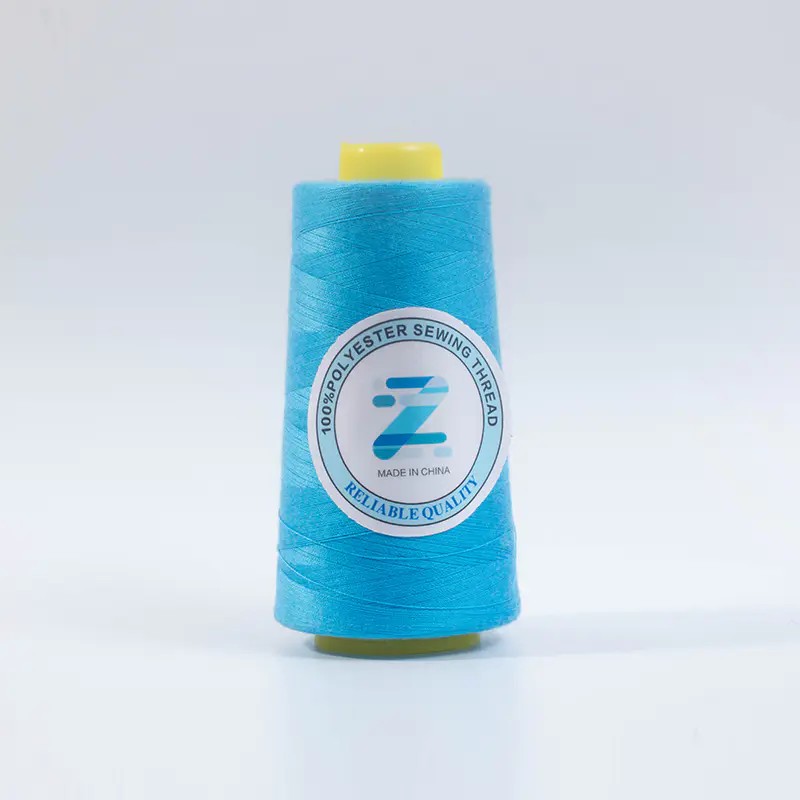
Unraveling the Durability: Why Polyester Embroidery Thread Reigns Supreme
Jun 06,2025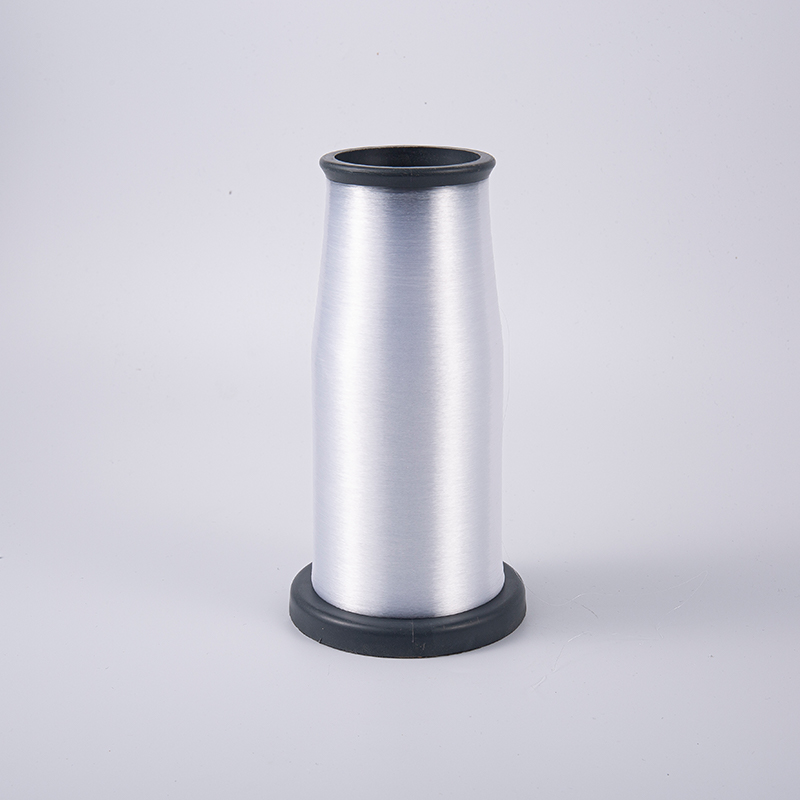
The power of nonwovens: how non-woven fabrics impact modern life
Jun 06,2025
From strength to protection: Nylon cable performance and selection guide for various applications
Jun 06,2025
Creative Ways to Incorporate Sequin Yarn into Clothing Designs for Stunning Visual Effects
Jun 06,2025Content
There is something quietly satisfying about turning a simple piece of fabric into a small work of art with nothing more than a needle and thread. Hand embroidery is one of the most accessible crafts: it does not require a machine, and the basic stitches are easy to pick up. In our years of making and supplying embroidery threads, we have seen how a few meters of good quality thread and a little patience can open the door to a lifelong creative hobby. Whether you want to embroider a monogram on a shirt, frame a botanical hoop, or simply slow down with a mindful project, this guide will help you get started. For a closer look at how embroidery threads are used in hand work, you can visit our cross stitch and hand embroidery page.
Before you make your first stitch, gather a few basic supplies. You probably have some of them at home already. Here is a simple checklist for a first embroidery kit:
Thread is the heart of the project. A smooth, strong thread makes every stitch more enjoyable, and colorfast polyester is a practical choice for garments and accessories you will wear and wash. This is why many embroiderers choose a reliable polyester filament thread for everyday projects.
 Smooth 120D/2 Polyester Filament Embroidery ThreadThis continuous-filament polyester thread reduces breakage and fading, making it a reliable everyday choice for garments and accessories you wash often.View Product →
Thread choice can change both the look and the feel of your embroidery. Cotton floss is the traditional option, but polyester and rayon threads have become increasingly popular because of their durability and shine. As a manufacturer, we often recommend polyester for everyday projects because it resists breaking, fading, and shrinking. Rayon, on the other hand, has a beautiful high gloss that makes decorative pieces feel luxurious.
| Thread type | Best for | Finish | Care note |
|---|---|---|---|
| Polyester | Everyday wear, washable items | Light sheen | Machine washable |
| Rayon | Decorative and heirloom pieces | High gloss | Gentle wash |
| Cotton | Traditional cross stitch | Matte | May shrink slightly |
| Metallic | Accents and highlights | Shimmer | Handle gently |
For a glossy finish on floral or lettering designs, rayon thread glides through fabric beautifully and creates a smooth, reflective surface. If you want to explore the differences between the two most popular options, our polyester vs. rayon thread guide explains the details in plain language.
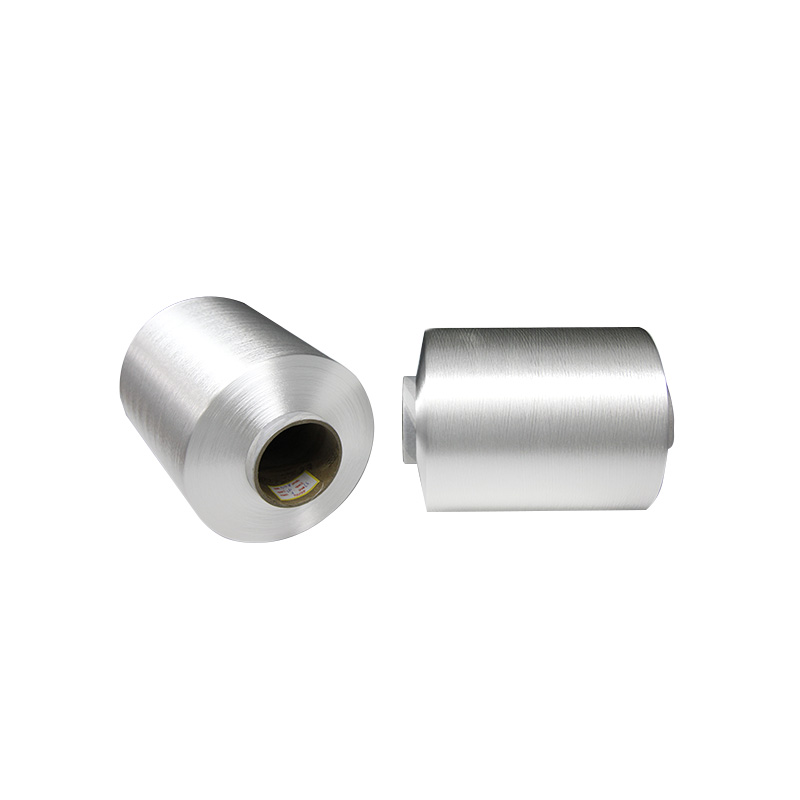 Large-Spool 300D/2 Rayon Embroidery ThreadThis high-gloss rayon thread on a huge spool minimizes thread changes in industrial production, offering smooth stitching and consistent results.View Product →
You do not need to learn dozens of stitches to complete a beautiful project. These five basic stitches will cover most beginner designs and give you a solid foundation for exploring more.
Practice each stitch on a spare piece of fabric before you start your final design. Go slowly, keep the tension relaxed, and let the thread rest naturally in your hand.
Getting your design onto the fabric does not have to be complicated. Choose a way that feels comfortable to you.
Once your design is ready, place the fabric over the inner hoop and press the outer hoop down. Gently pull the fabric from all sides until it feels like a drumhead, but do not overstretch the weave. Tighten the screw and check that the fabric stays smooth while you stitch.
When your last stitch is in place, remove the hoop and trim any loose tails on the back. If you used a water-soluble marker, rinse the fabric briefly in cool water and let it air dry. To press, place the embroidery face down on a clean towel and iron on the back with a medium heat setting; this keeps the stitches raised and neat.
To add an extra layer of texture, you can sew on beads or sequins after the main design is finished. A few pearl beads can transform a simple floral design into something more special. We offer a range of glass beads that pair beautifully with hand embroidery.
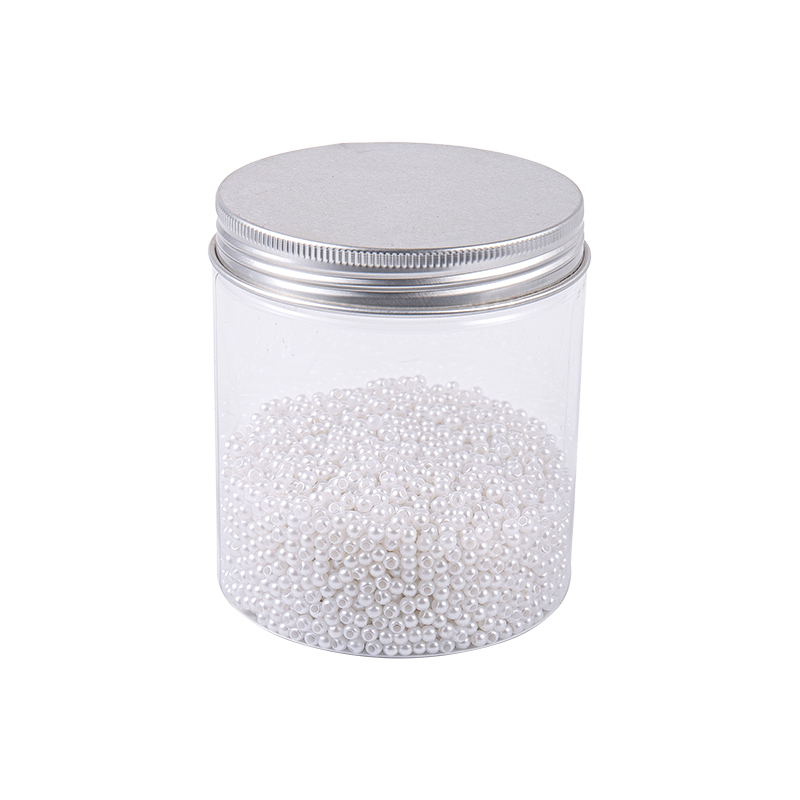 Pearl White 3.0mm Embroidery Glass BeadsThese elegant pearl-finished beads add a soft, warm glow to floral designs, perfect for enhancing clothing, accessories, and home décor.View Product →
Hand embroidery is a skill you build one stitch at a time. Start small, keep your fabric clean, and choose threads that make you happy. As a thread manufacturer, we are always excited to see what crafters create with our yarns. Enjoy the process, and let each stitch become your own.
Your email address will not be published. Required fields are marked *
*Indicates a required field
Copyright © Shaoxing Qiufei Textile Technology Co., Ltd.  Custom Embroidery Thread Yarn Manufacturers