

 عربى
عربىNEWS
Home / News / Industry News / How to Bead Embroidery: Step-by-Step Guide to Stitches, Materials, and Expert Tips
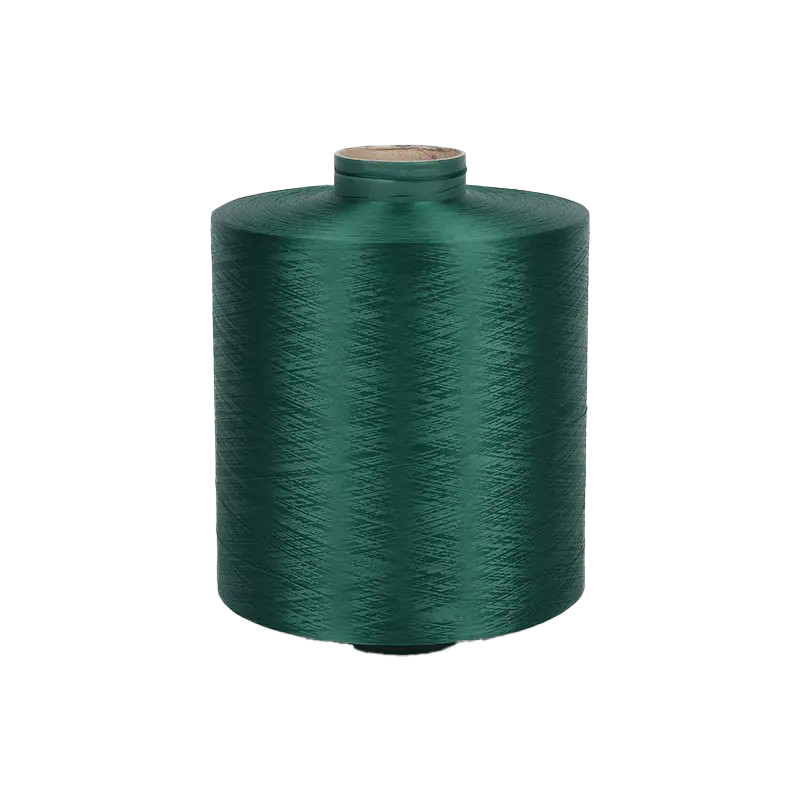
75/36 100% elastic yarn 20D Denier air-wrapped yarn: innovative technology improves fabric breathability
Jun 06,2025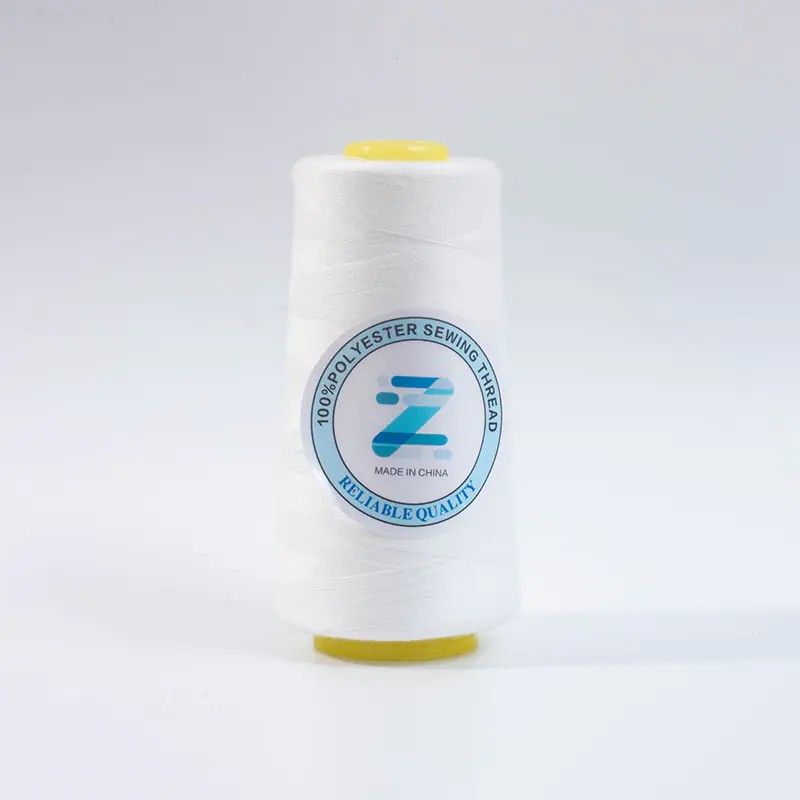
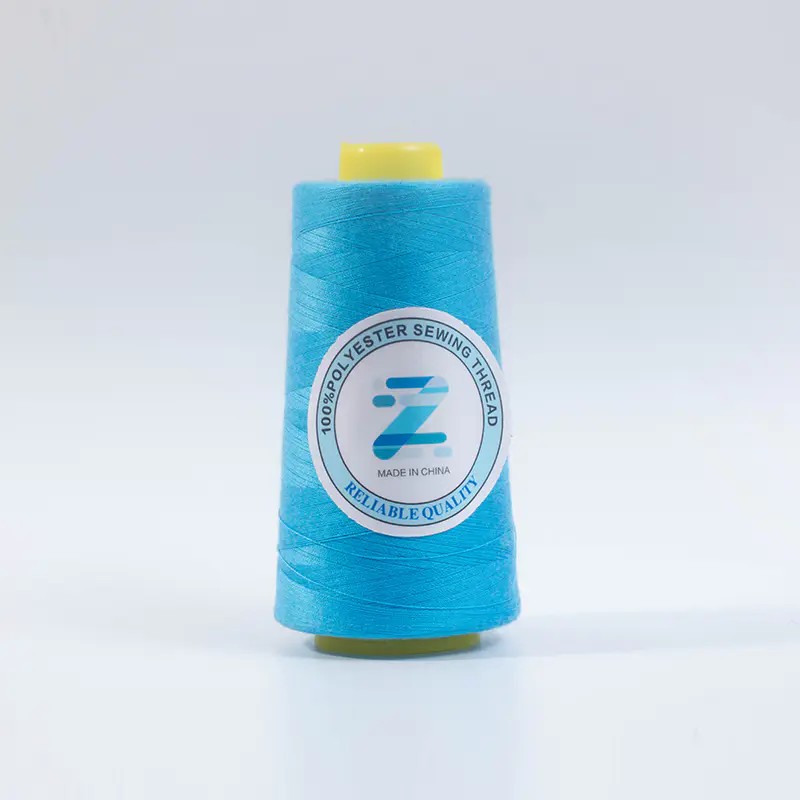
Unraveling the Durability: Why Polyester Embroidery Thread Reigns Supreme
Jun 06,2025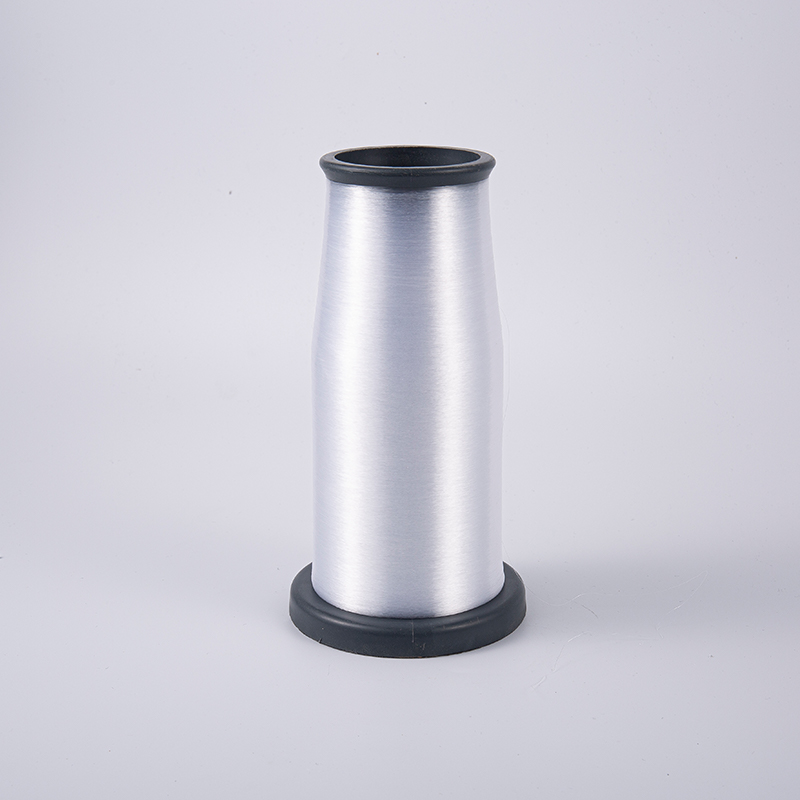
The power of nonwovens: how non-woven fabrics impact modern life
Jun 06,2025
From strength to protection: Nylon cable performance and selection guide for various applications
Jun 06,2025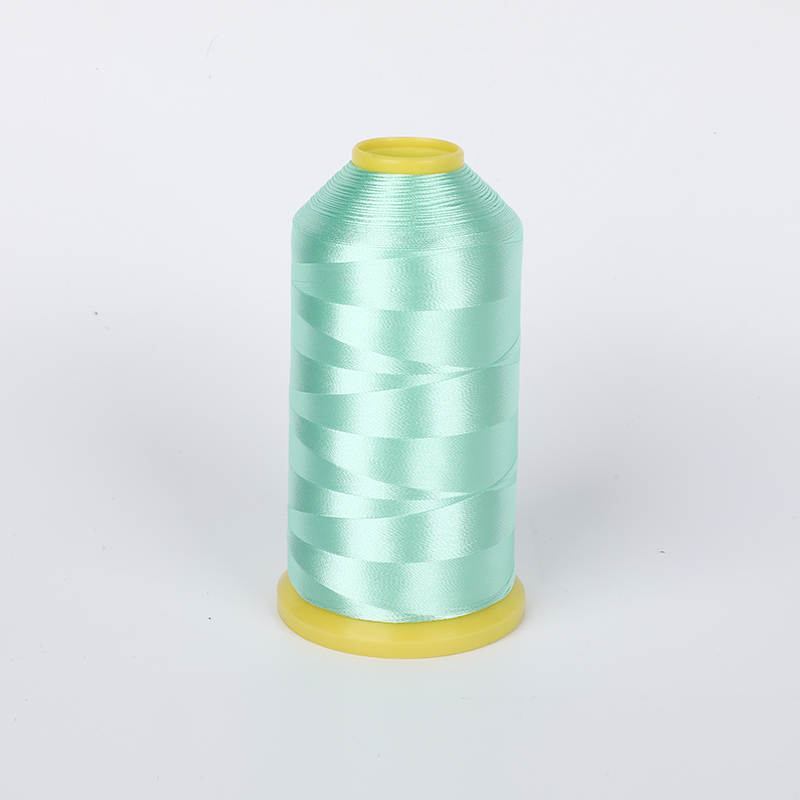
Creative Ways to Incorporate Sequin Yarn into Clothing Designs for Stunning Visual Effects
Jun 06,2025Content
Bead embroidery is one of the most rewarding ways to add texture, light, and personality to fabric. Whether you are embellishing a bridal gown, refreshing a denim jacket, adding sparkle to an evening bag, or creating a decorative wall hanging, bead embroidery combines classic stitching with the dimensional beauty of glass beads. Because beads catch the light and move with the fabric, even a simple design can look rich and alive. In this guide, we walk through the materials you need, how to prepare your fabric, the basic technique for attaching beads, the most useful stitches, and the practical habits that make beadwork easier. We also share a few professional insights gained from years of manufacturing embroidery threads and accessories.
Before the first bead touches the fabric, assemble the right kit. Bead embroidery does not require a huge investment, and most supplies are affordable and easy to source from a reputable embroidery thread supplier.
Thread choice matters more than many beginners realize. A twisted filament thread with a smooth surface reduces friction every time the needle passes through a bead hole. Our 108D/2 polyester embroidery thread has been a favourite among embroiderers because it resists fraying, holds color well, and is available in an extensive shade range for matching or contrasting beadwork. For delicate work, a thinner 40-weight thread disappears behind the beads, while a thicker 30-weight thread adds a subtle decorative outline.
 108D/2 100% Polyester Embroidery Thread in Multiple ColorsTwisted filament polyester thread with smooth surface reduces friction and fraying during bead embroidery. Available in a wide color range, it complements bead colors for matching or contrast.View Product →
Good preparation prevents most bead embroidery problems. Start by cutting your fabric with at least 5 cm of margin on every side of the hoop. Transfer the design onto the right side of the fabric using a water-soluble pen, dressmaker's chalk, or a lightbox and fine pencil. Keep the lines visible but light, because heavy ink can show through pale beads.
Mount the fabric in the hoop with the design centered, then pull the outer ring just tight enough to create a drum-like surface without distorting the weave. If you are working on a slippery, sheer, or stretchy fabric, fuse or baste a lightweight stabilizer to the wrong side before mounting. A water-soluble backing is especially convenient because it dissolves completely when the project is finished. Our 90°C hot-water-soluble non-woven fabric is a popular choice among customers who do bead embroidery, lace, and delicate applique work; it supports the stitches during sewing and disappears cleanly afterward.
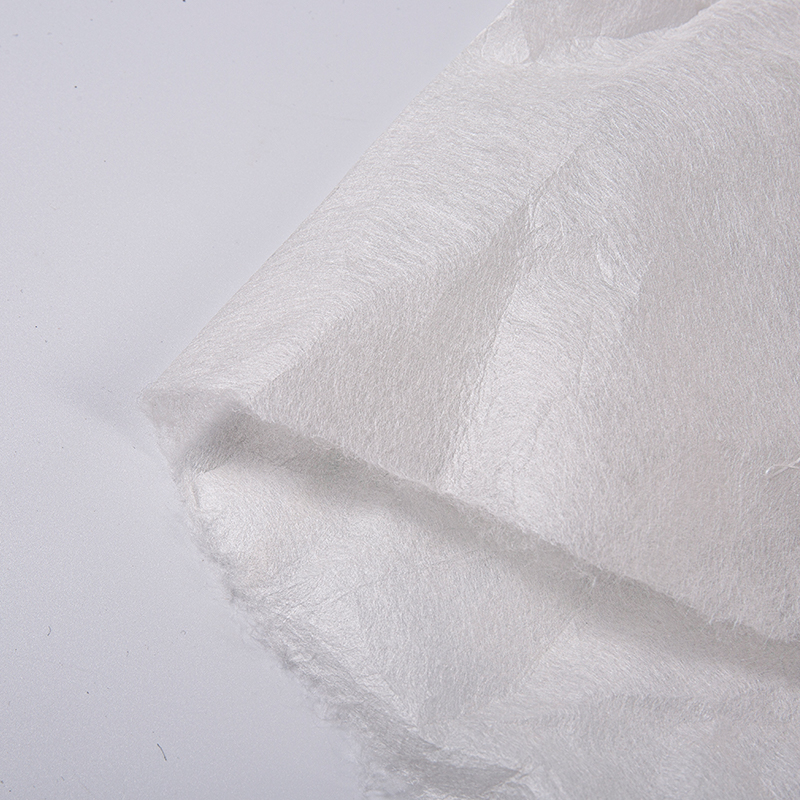 90°C Hot Water Soluble Non-Woven Stabilizer Fabric 35g WhiteLightweight water-soluble backing dissolves completely in hot water, ideal for bead embroidery, lace, and applique. Supports stitches during sewing and leaves no residue, keeping finished work clean and delicate.View Product →
The core technique in bead embroidery is simple: bring the needle up through the fabric, thread one or more beads onto the needle, and take the needle back down through the fabric. The way you return the needle determines both the look and the stability of the beadwork.
The most common habit among beginners is to pull the thread too tightly, which makes the fabric pucker around each bead. Instead, pull just enough to seat the bead against the fabric without compressing the weave. With practice, you will feel the difference between a bead that is anchored and a bead that is strangled.
Once you are comfortable with the basic bead attachment, you can combine beads with traditional hand embroidery stitches to create patterns that are unique to beadwork. The table below summarizes the most useful bead embroidery stitches for beginners and experienced stitchers alike.
| Stitch | How It Looks | Best Used For |
|---|---|---|
| Single bead stitch | One bead anchored flat | Outlines, dots, filling small areas |
| Beaded backstitch | A continuous line of beads | Curves, lettering, borders |
| Beaded running stitch | Gaps of thread between beads | Light decorative lines, seams |
| Beaded couching | Beads strung, then tacked down | Long lines, curved shapes, dense coverage |
| Beaded satin stitch | Parallel beads placed close together | Filled areas, petals, leaves |
| Bead tassel | A cluster of hanging bead strands | Edges, corners, jewelry-style accents |
Each stitch has a different personality. Beaded backstitch creates a crisp, continuous line that is ideal for lettering and stems. Beaded couching, by contrast, is faster for filling large areas because you can string a long row of beads and tack it down every few beads. For more ideas on pairing beads with classic stitching, take a look at our guide to cross-stitch and hand embroidery, where we explain how different threads behave in hand-sewn projects.
The success of a bead embroidery project depends on the relationship between thread, bead, and fabric. Here are the factors we consider when selecting materials in our own production and when advising customers.
Thicker threads are more visible and help the beadwork blend with the fabric; finer threads are easier to hide. A 108D/2 or 120D/2 polyester thread is a good middle ground for most bead embroidery. If you need a stronger hold for heavy beads, a 150D/2 or 225D/2 thread gives extra security. Whatever you choose, the thread should be twisted tightly enough that it does not separate when passing through a bead multiple times.
Seed beads commonly range from 2.5 mm to 4 mm. The hole must be large enough for your needle and thread to pass through at least twice, because many stitches require the thread to go through the bead more than once. If the hole is too small, you will waste time and the thread will fray. Our embroidery glass beads include 2.5 mm, 3 mm, and 4 mm options in classic, pearl, rose gold, and faceted finishes, so you can coordinate bead size with the scale of your design and the weight of the thread.
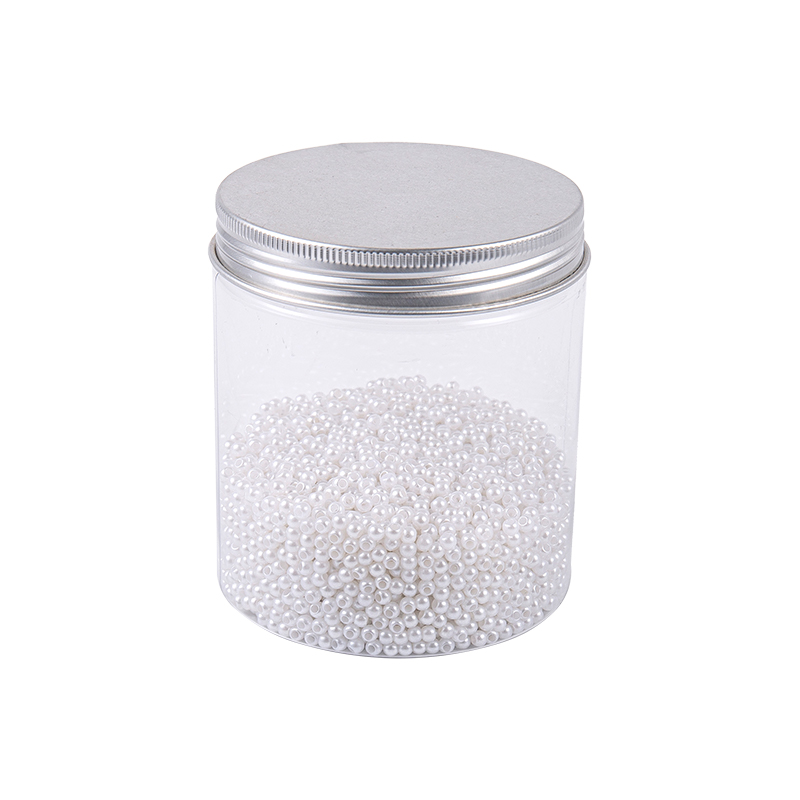 White Pearl 3.0mm Embroidery Glass BeadsElegant pearl-finish glass beads with soft luster, sized 3mm for balanced beadwork. Suited for garments, accessories, and home textiles, offering a refined look while coordinating with standard embroidery thread weights.View Product →
Bead embroidery is often used on garments that are washed or worn frequently, so both the beads and the embroidery thread should be colorfast. Polyester threads are dyed with dispersed dyes that penetrate the fiber, which is why they maintain their color well through repeated washing. This matters especially when beadwork appears on everyday clothing, sportswear, or household textiles.
Another frequent mistake is choosing a thread that is too thick for the bead hole. If the needle will not pass through the bead comfortably, switch to a finer thread or a larger bead rather than forcing the tip. This small adjustment will save you hours of frustration. And if you are adding beads to denim, leather, or other tough materials, our guide to heavy-duty embroidery thread explains which constructions handle heavy fabrics best.
Bead embroidery is a skill that improves with practice. Start with a small project, choose quality materials, and soon you will develop the rhythm of threading, anchoring, and repeating that makes beadwork so satisfying. Whether you are stitching for fashion, home décor, or personal pleasure, the combination of a good polyester embroidery thread and well-matched glass beads will help you create pieces that stand up to wear and stay beautiful for years.
Your email address will not be published. Required fields are marked *
*Indicates a required field
Copyright © Shaoxing Qiufei Textile Technology Co., Ltd.  Custom Embroidery Thread Yarn Manufacturers