

 عربى
NEWS
Home / News / Industry News / how do embroidery hoops work: Applications, Selection Criteria, and Practical Guidance
75/36 100% elastic yarn 20D Denier air-wrapped yarn: innovative technology improves fabric breathability
Jun 06,2025
Unraveling the Durability: Why Polyester Embroidery Thread Reigns Supreme
Jun 06,2025
The power of nonwovens: how non-woven fabrics impact modern life
Jun 06,2025
From strength to protection: Nylon cable performance and selection guide for various applications
Jun 06,2025
Creative Ways to Incorporate Sequin Yarn into Clothing Designs for Stunning Visual Effects
Jun 06,2025Content
An embroidery hoop looks deceptively simple: two rings and a screw. Anyone who has stitched without one knows how quickly fabric can pucker and shift. The hoop solves a basic problem: keeping the fabric flat and stable while the needle works. In this guide, we will look at how embroidery hoops work, how to use one properly, and how to choose the right hoop for your project.
An embroidery hoop works on the principle of tension. The two rings are slightly different in size. The inner ring is solid and sits below the fabric. The outer ring, fitted with a screw or latch, is pressed over the fabric and the inner ring from above. As the outer ring sinks into place, it traps the fabric between the two rings and pulls it taut. Tightening the screw locks the outer ring in position, so the fabric stays stretched evenly while you stitch.
Tension is what separates tidy embroidery from messy embroidery. When the fabric is held firmly, the needle passes through cleanly and the thread lies flat. Without that stability, even the best thread will produce uneven stitches, because the fabric under the needle moves instead of staying still.
Most embroidery hoops share the same three parts, even if the materials and locking mechanisms vary.
Traditional wooden hoops use a metal screw. Loosen it, place the fabric over the inner ring, press the outer ring into place, and tighten. Plastic machine hoops often use a spring latch or clamp, but the principle is the same: the outer ring must grip the inner ring with enough pressure to hold the fabric securely.
Embroidery hoops are made from wood, plastic, or metal. Wooden hoops are lightweight and inexpensive, ideal for hand embroidery, but they can absorb moisture and lose their grip. Plastic hoops are smooth, easy to clean, and hold tension consistently, which is why most machine hoops are plastic. Metal hoops are thin and strong, often used in industrial settings where durability matters.
The shape can also vary. Round hoops suit most projects; oval hoops give a wider area for long, narrow designs; square or rectangular frames are common in machine embroidery and quilting.
| Hoop Diameter | Typical Use | Fabric Weight |
|---|---|---|
| 4-5 inches | Small motifs, badges, hand embroidery | Light to medium |
| 6-8 inches | General hand embroidery, small machine designs | Light to medium |
| 9-12 inches | Larger hand embroidery, machine projects | Medium |
| 14 inches and up | Quilting blocks, large-scale embroidery | Medium to heavy |
These are guidelines rather than fixed rules. Measure your design area and choose a hoop with a little extra room around it.
Once you understand the two rings, using a hoop is straightforward. Here is the sequence we recommend.
If the fabric shifts or wrinkles, release the outer ring and start again. It is easier to fix the tension before you begin than mid-project. For thin or slippery fabric, a layer of backing paper or a water-soluble stabilizer helps the hoop grip evenly.
There is an important difference between hooping for hand embroidery and hooping for a machine. Hand embroiderers hold the hoop in one hand, so a lightweight wooden or plastic hoop is most comfortable; the screw can be adjusted at any time, and the hoop moves easily as the design grows. If you enjoy cross stitch and hand embroidery, a classic round hoop with a smooth finish is a wonderful companion.
Machine embroidery relies on the hoop as part of the machine's movement system. The hoop clamps onto the carriage, and the machine moves the fabric beneath the needle according to the design file. Because the hoop moves quickly, the fabric must be held extremely firmly; if it slips even a fraction of a millimeter, the design will be misaligned.
For machine work, we recommend a plastic hoop that matches your machine model. A good stabilizer also makes a huge difference. Our 90°C water-soluble non-woven fabric is a favorite among embroiderers who want a stable base that disappears cleanly after washing.
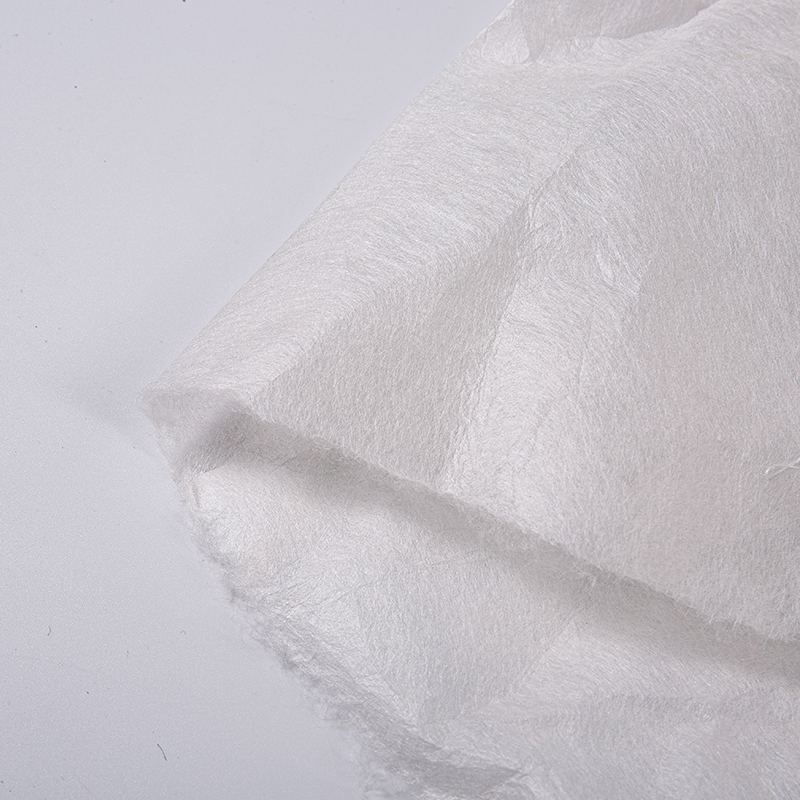 90°C Water-Soluble Non-Woven Embroidery BackingThis water-soluble non-woven fabric provides a stable base for machine embroidery, dissolving completely in hot water without residue, keeping your designs clean and delicate.View Product →
For those new to machine embroidery, our guide to home embroidery machine use covers the basic setup and hooping routine.
Bobbin and needle tension also depend on the hoop keeping the fabric steady. When the hoop holds correctly, the top thread and bobbin thread lock together in the right place, producing clean stitches on both sides. That is why we pay attention to both our top embroidery threads and our bobbin threads.
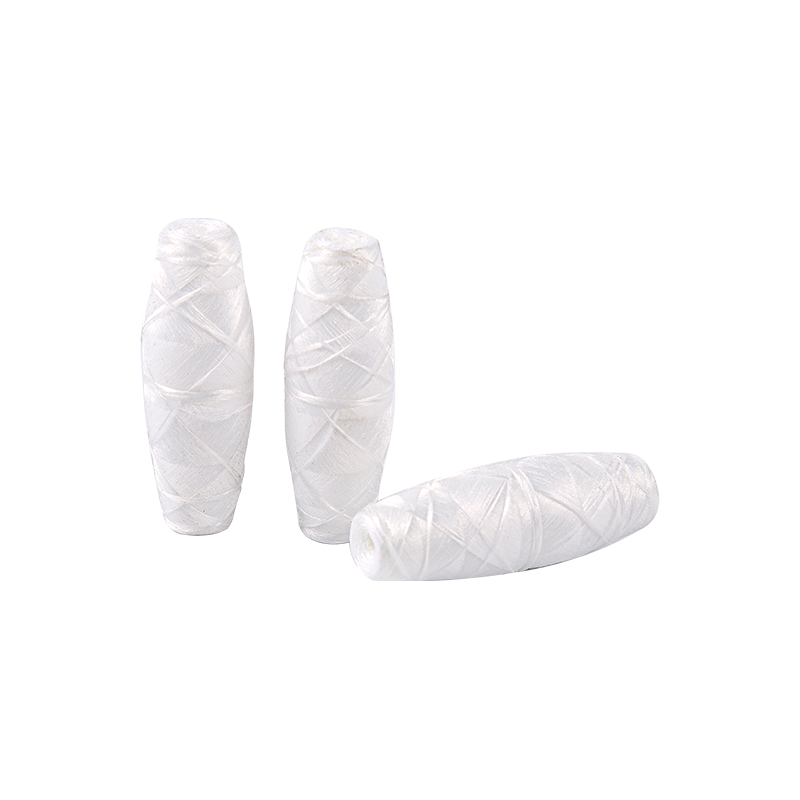 150D Polyester Bobbin Thread for Smooth StitchingA polyester bobbin thread with a smooth finish that reduces friction and breakage, ensuring even tension and clean stitches at high speeds, complementing proper hooping.View Product →
Leave about 2 to 3 centimeters of clear fabric between the design edge and the inner ring. This keeps stitches away from the outer ring, where the fabric is compressed and harder to pierce. If the design is larger than the hoop, you can re-hoop and stitch in sections, but a hoop that fits the whole design is better.
Fabric type matters too. Lightweight, sheer fabrics need smooth-edged hoops and a gentle grip; heavyweight fabrics like denim, canvas, and toweling need a firm hoop and often a stronger needle and backing. In our experience supplying embroidery thread for many end uses, stitching is much smoother when hoop, fabric, thread, and needle are matched.
For most projects, a 40-weight polyester embroidery thread is a reliable choice: fine enough for detail, strong enough for repeated stitching. Our 120D/2 polyester filament thread is popular for machine embroidery because it combines smoothness with consistent tension.
 120D/2 Polyester Filament Thread for Durable EmbroideryThis continuous filament polyester thread resists wear and fuzzing, delivering smooth, consistent tension for complex machine embroidery and withstanding repeated washing without fading.View Product →
Even experienced embroiderers make hoop mistakes. Most are easy to avoid.
The embroidery hoop works because it holds the fabric still under tension. That single job affects every stitch, from a first practice line to a full production run. Once you understand how the two rings work together, how to control tension, and how to match the hoop to your fabric and thread, embroidery becomes smoother, neater, and more enjoyable. And when the materials are right, the stitches just fall into place.
Your email address will not be published. Required fields are marked *
*Indicates a required field
Copyright © Shaoxing Qiufei Textile Technology Co., Ltd.  Custom Embroidery Thread Yarn Manufacturers