

 عربى
NEWS
Home / News / Industry News / embroidery ring how to use: Applications, Selection Criteria, and Practical Guidance
75/36 100% elastic yarn 20D Denier air-wrapped yarn: innovative technology improves fabric breathability
Jun 06,2025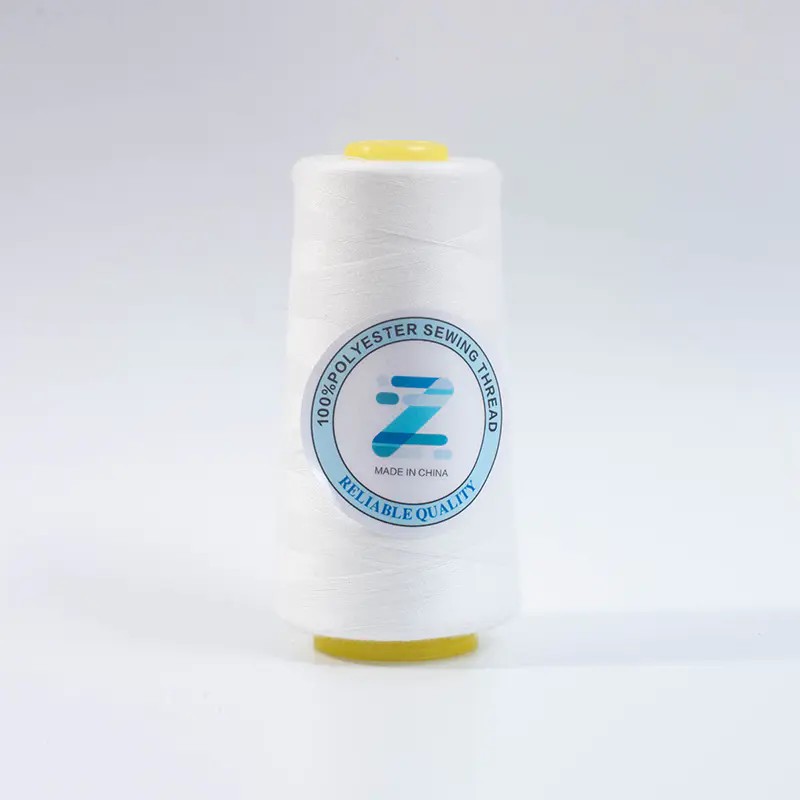
Unraveling the Durability: Why Polyester Embroidery Thread Reigns Supreme
Jun 06,2025
The power of nonwovens: how non-woven fabrics impact modern life
Jun 06,2025
From strength to protection: Nylon cable performance and selection guide for various applications
Jun 06,2025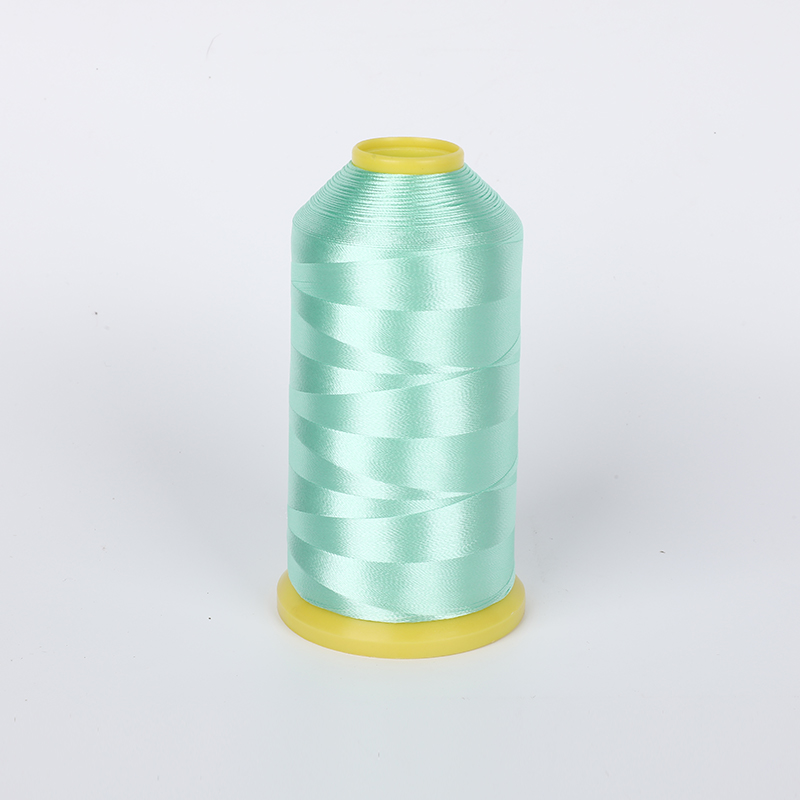
Creative Ways to Incorporate Sequin Yarn into Clothing Designs for Stunning Visual Effects
Jun 06,2025Content
If you are new to embroidery, the round frame that holds your fabric taut is often the first tool you reach for. Some call it an embroidery ring, others know it as an embroidery hoop. The design is simple, yet it does a big job: it keeps your stitching area smooth, stops the fabric from puckering, and gives your hands something stable to work against. In this guide, we walk through everything you need to know about using an embroidery ring, from the basic setup to the small tricks that keep your fabric drum-tight.
An embroidery ring is made of two circles that fit snugly one inside the other. The fabric sits between the two rings, and the tension screw allows you to tighten or loosen the grip. When assembled correctly, the fabric stays flat and even, which is essential for clean stitches and uniform tension.
Hoops come in several materials, each with its own feel:
No matter the material, the working principle is the same: the fabric is pinned firmly between the inner and outer rings, and the screw or clip holds everything in place.
Embroidery rings are available in a wide range of diameters, from small 10 cm rings for delicate motifs to large 30 cm frames for bigger compositions. Choosing the right size is largely a matter of matching the hoop to the design you have in mind.
| Hoop diameter | Best suited for |
|---|---|
| 10-13 cm (4-5 in) | Small motifs, monograms, fine details |
| 15-18 cm (6-7 in) | General hand embroidery, cross stitch |
| 20-23 cm (8-9 in) | Larger patterns, garment decoration |
| 25 cm and above (10+ in) | Machine embroidery hooping, samplers, quilting |
A good general rule is to use the smallest hoop that fits your design comfortably. A hoop that is too large can stretch the fabric unevenly, while a hoop that is too small forces you to re-hoop several times during one project.
Setting up an embroidery ring takes less than a minute once you have done it a few times. Here is the simple process we recommend, whether you are stitching by hand or preparing fabric for a machine.
If you are using a spring-loaded or quick-release hoop, the process is similar, except that you squeeze the handles or spring clip instead of turning a screw.
A common frustration, especially for beginners, is that the fabric starts to sag after a few minutes of stitching. This usually happens because the weave of the fabric has shifted under the pressure of the hoop, or because the screw has worked loose. The fix is simple: loosen the hoop, smooth the fabric flat, pull it taut again, and retighten.
| Problem | Likely cause | Solution |
|---|---|---|
| Fabric sags in the centre | Uneven pulling when hooping | Loosen, straighten the weave, pull all sides evenly |
| Fabric slips out of the hoop | Hoop too loose or fabric too slick | Tighten the screw or add a stabiliser layer |
| Hoop leaves a visible crease | Over-tightening or leaving fabric hooped too long | Mist with water and press lightly, or remove from the hoop when not stitching |
For slippery or loosely woven fabrics, adding a stabiliser layer between the inner ring and the embroidery area helps the hoop grip better. Water-soluble stabiliser sheets are a practical choice for delicate materials such as silk, velvet, or stretch knits, because they wash away cleanly once the embroidery is finished.
Machine embroidery uses a slightly different approach to hooping than hand stitching, but the basic idea remains the same. On a home embroidery machine, the hoop attaches to the machine arm, and the fabric moves with the hoop as the needle stitches the design. The hoop must be firm enough to prevent the fabric from bouncing, yet not so tight that it distorts the weave.
Machine embroidery almost always requires a stabiliser. It supports the fabric during the stitching process, stops stretching, and keeps the design crisp. For projects that will be washed later, a water-soluble stabiliser is convenient because it dissolves completely, leaving no trace behind.
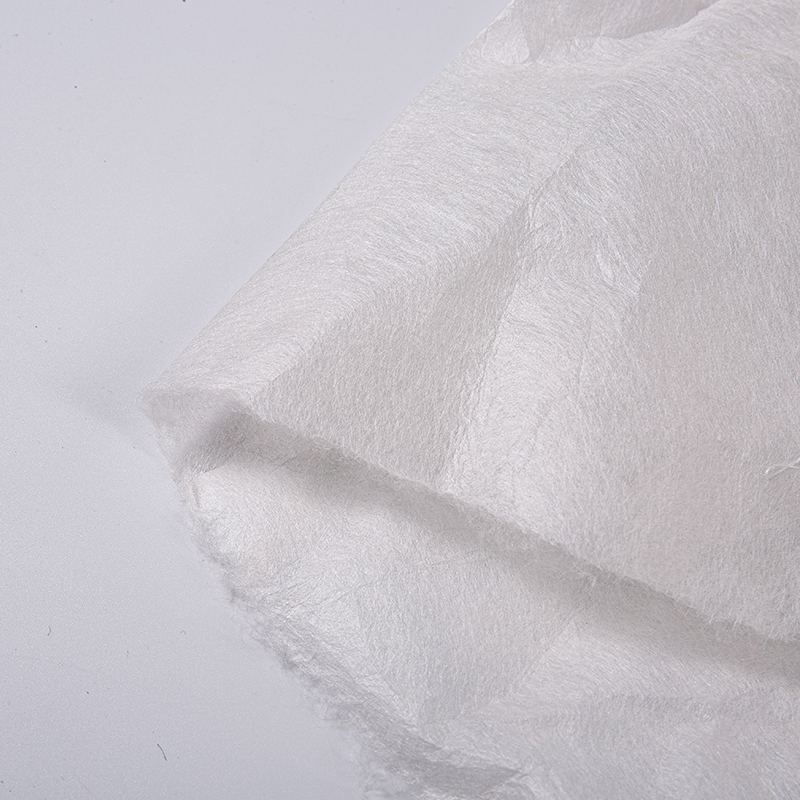 Hot-Water-Soluble Non-Woven Embroidery StabilizerThis white 35g non-woven stabilizer dissolves completely in 90°C hot water, leaving no residue. It supports fabric during dense stitching and washes away cleanly for crisp designs.View Product →
The bobbin thread also affects how smoothly the machine sews. A lightweight, well-wound bobbin thread prevents bird-nesting on the underside and keeps the tension balanced. It is worth matching the bobbin thread to the fabric weight, especially for dense designs.
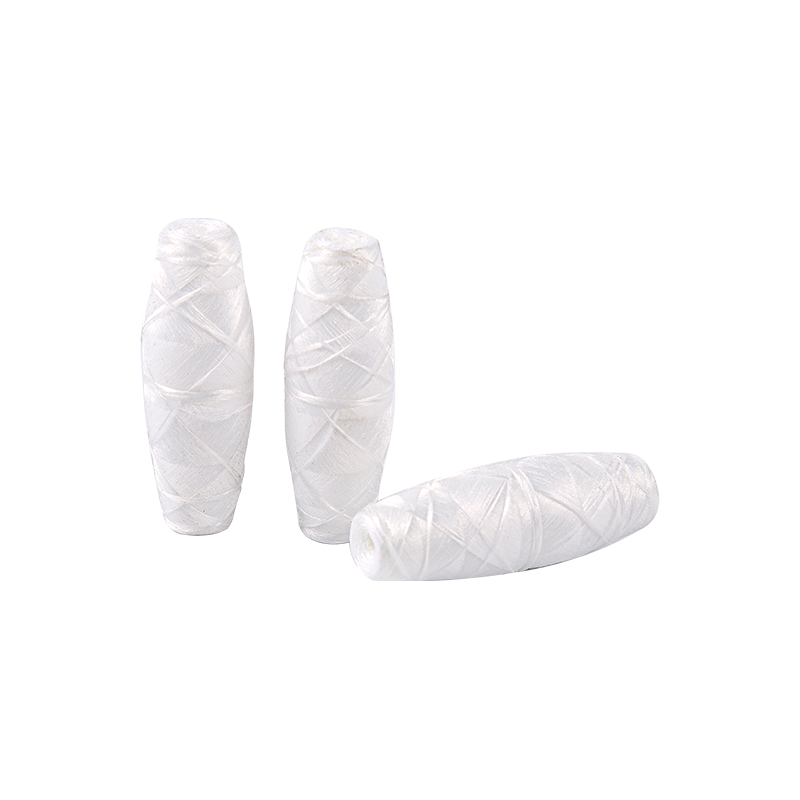 Smooth 150D Polyester Bobbin Thread for Balanced StitchingThis 150D polyester bobbin thread features a smooth finish that reduces friction and breakage, ensuring stable high-speed sewing and preventing bird-nesting on dense embroidery projects.View Product →
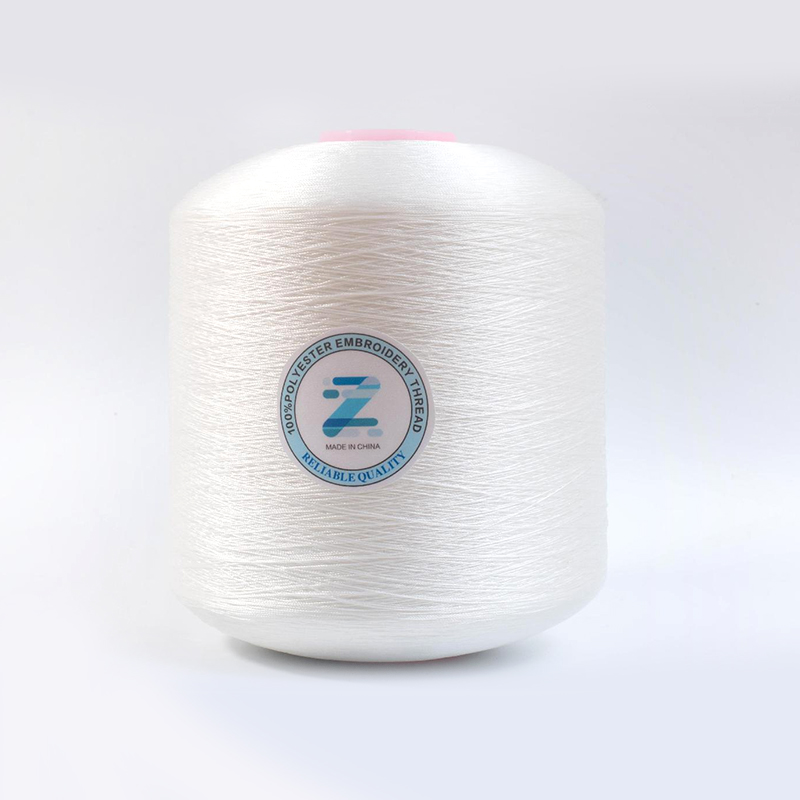
Your choice of thread has a direct impact on how well the fabric behaves inside the hoop. A smooth, high-quality polyester embroidery thread slides through the fabric easily, produces less lint, and keeps the tension even. Rayon threads give a beautiful sheen, but polyester threads are generally stronger and more colour-fast, making them a popular choice for both hand and machine embroidery.
 Durable 120D/2 Polyester Filament Embroidery ThreadMade of continuous filaments, this thread resists fraying, breaking, and fading through repeated washes. It provides smooth, dense coverage for both hand and machine embroidery on medium-weight fabrics.View Product →
When you are stitching by hand, a slightly heavier thread around 120D/2 or 150D/2 gives lovely coverage and definition, especially on medium-weight fabrics. For machine embroidery, the same threads work well for both the needle and the bobbin, provided you match the bobbin thread to the fabric weight.
If you are working on a cross-stitch or hand-embroidery project, our cross-stitch and hand embroidery guide offers thread recommendations and technique tips that pair nicely with your hoop setup.
A good embroidery ring can last for years if you treat it well. Wooden hoops should be kept away from extreme heat and moisture, as the wood can warp or crack. Plastic hoops can be wiped down with a damp cloth and dried immediately. The screw mechanism on any hoop should be checked regularly; a little silicone lubricant on the threads keeps the screw turning smoothly.
After you finish stitching, remove the fabric from the hoop instead of leaving it stretched for weeks. If a crease remains, lightly mist the area with water and press it with a cool iron, or leave the fabric under a heavy book overnight.
Using an embroidery ring is one of the simplest skills to learn, yet it makes a huge difference to the quality of your work. Whether you are embroidering by hand, hooping fabric for a home machine, or preparing pieces for industrial embroidery, the same principles apply: keep the fabric smooth, keep the tension even, and let the hoop do the holding so your hands can do the stitching.
Start with a mid-sized hoop, a comfortable embroidery thread, and a scrap of cotton fabric. Practice the setup steps a few times, and soon the whole process will feel like second nature.
Your email address will not be published. Required fields are marked *
*Indicates a required field
Copyright © Shaoxing Qiufei Textile Technology Co., Ltd.  Custom Embroidery Thread Yarn Manufacturers