عربى
عربى
Content
- 1 What Makes Yarn Different from Embroidery Thread
- 2 Choosing the Right Yarn for Embroidery
- 3 Essential Tools You Need to Embroider with Yarn
- 4 How to Embroider with Yarn: Step-by-Step
- 5 Best Embroidery Stitches to Use with Yarn
- 6 Embroidery Thread vs. Yarn: Which Should You Choose?
- 7 Common Mistakes and How to Avoid Them
- 8 Beginner Project Ideas for Yarn Embroidery
- 9 Caring for Finished Yarn Embroidery
Yes, you can embroider with yarn — and it produces bold, textured results that standard embroidery floss simply cannot match. Yarn embroidery works best on open-weave fabrics like burlap, wool felt, or canvas, using a large-eye tapestry or chenille needle. Whether you're a complete beginner or switching from floss-based work, this guide covers everything you need to start embroidering with yarn confidently.
What Makes Yarn Different from Embroidery Thread
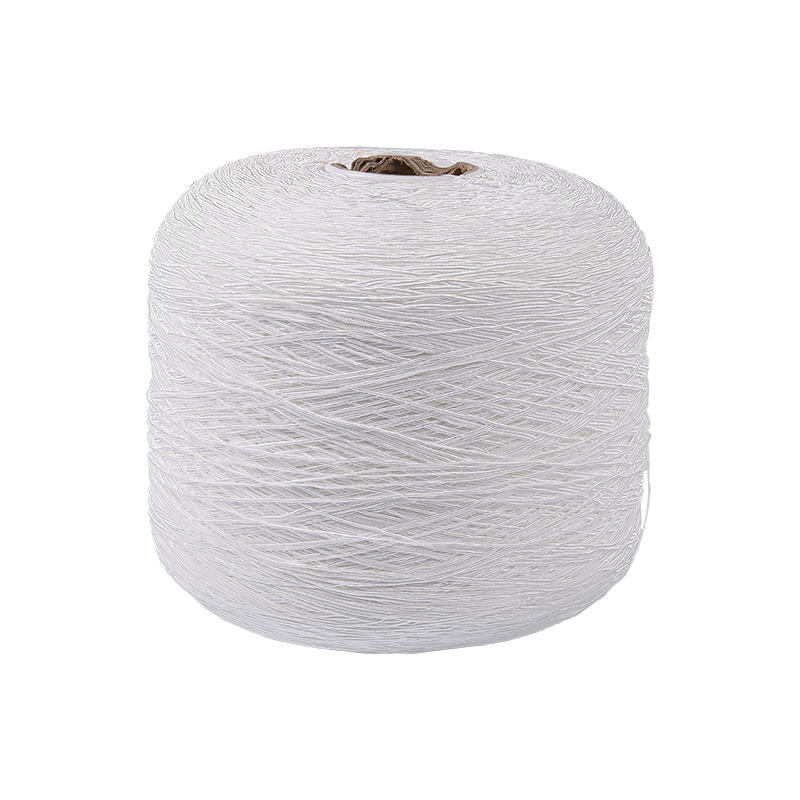
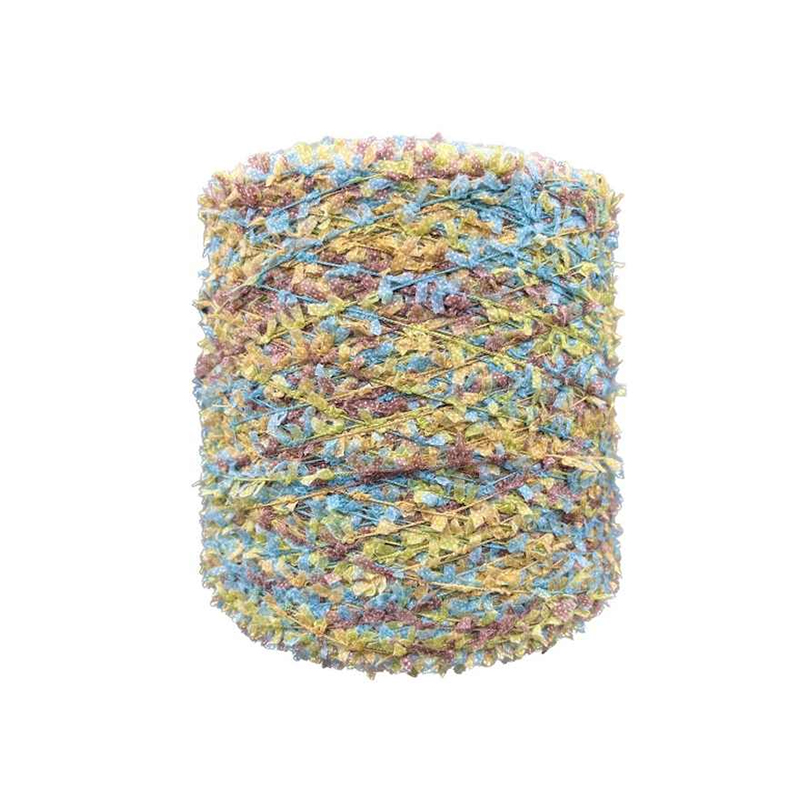
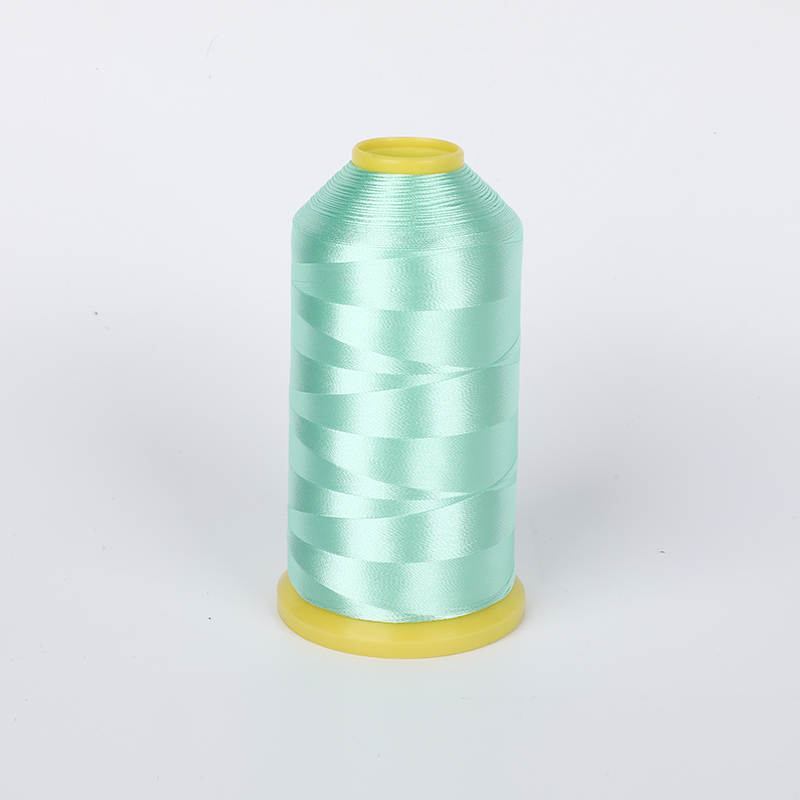
Embroidery thread (or floss) is typically made of 6 fine strands of mercerized cotton, designed for delicate, precise stitching on tightly woven fabrics. Yarn, by contrast, is thicker, often 3–10× the diameter of standard floss, and comes in wool, acrylic, cotton, and blended fibers.
This difference creates distinct outcomes:
- Yarn creates chunky, raised textures ideal for wall art, pillows, and rustic home décor.
- Floss is better for fine detail work, portrait embroidery, and hoop art on quilting cotton.
- Yarn embroidery covers large areas up to 4× faster than thread due to its bulk.
- Wool yarn adds a matte, painterly feel; acrylic yarn is more affordable and colorfast.
The key insight: yarn embroidery is not a lesser technique — it's a different aesthetic tool suited for bolder, more expressive projects.
Choosing the Right Yarn for Embroidery
Not all yarn works equally well for embroidery. The fiber content, weight, and ply all affect how smoothly it stitches and how the final piece looks.
| Yarn Type | Weight | Best For | Notes |
|---|---|---|---|
| Wool yarn | Fingering–Worsted | Texture, wall hangings | Soft, matte finish; easy to thread |
| Acrylic yarn | Sport–Bulky | Large fills, beginner projects | Affordable, wide color range |
| Cotton yarn | Fingering–DK | Washable items, summer projects | Less stretchy, holds stitch shape well |
| Persian wool | 3-ply fine | Needlepoint, canvas work | Separable strands for fine control |
| Tapestry yarn | 4-ply worsted | Traditional embroidery, canvas | Designed specifically for needlework |
Recommendation for beginners: Start with a worsted-weight wool or acrylic yarn in a solid color. Avoid fuzzy or novelty yarns (like mohair or eyelash yarn) until you're comfortable, as they tangle easily and obscure your stitches.
Essential Tools You Need to Embroider with Yarn
Yarn requires different tools than standard embroidery floss. Using the wrong needle or fabric is one of the most common beginner mistakes.
Needles
- Tapestry needle (sizes 13–18): Blunt tip with a large eye. Best for counted canvas work and woven fabrics.
- Chenille needle (sizes 18–24): Sharp tip with a large eye. Best for tightly woven fabrics like felt or denim where you need to pierce the fabric.
- Yarn darner needle: Extra-long with a large eye; useful for thick, bulky yarns.
Fabric
- Burlap/Hessian: The most beginner-friendly base; open weave allows yarn to pass through with minimal effort.
- Wool felt: No fraying, easy to stitch, holds yarn securely.
- Canvas (mono or interlock): Standard for tapestry and needlepoint work; available in counts from 10 to 18 holes per inch.
- Aida cloth: Works well with finer yarns like Persian wool or fingering weight.
Other Supplies
- Embroidery hoop (8–12 inches recommended for yarn work)
- Sharp scissors for clean cuts
- Transfer pen or chalk for tracing designs
- Needle threader (optional but very helpful with thick yarn)
How to Embroider with Yarn: Step-by-Step
Follow these steps to complete your first yarn embroidery project from start to finish.
- Choose and prepare your fabric. Cut your fabric at least 2 inches larger than your hoop on all sides. For burlap, apply a thin line of fabric glue along the edges to prevent fraying before you begin.
- Transfer your design. Trace your pattern onto the fabric using a water-soluble pen, chalk, or by holding the fabric against a light source. Keep designs simple for your first project — geometric shapes and basic florals work well.
- Mount the fabric in your hoop. Place the inner hoop on a flat surface, lay the fabric over it, and press the outer hoop down firmly. Pull the fabric taut — it should feel like a drum. Yarn embroidery requires firm tension.
- Cut your working yarn. Cut lengths of no more than 18 inches (45 cm) at a time. Longer lengths cause the yarn to tangle and weaken from repeated friction through the fabric.
- Thread your needle. Fold the yarn end over the needle shaft, pinch it tightly, slide it off, then push the folded loop through the needle eye. This fold method works better than licking the end for thick yarn.
- Anchor your yarn. On the back of the fabric, leave a 1-inch tail and secure it under your first few stitches. Avoid knots — they create lumps visible from the front.
- Begin stitching. Pull the needle up through the fabric, complete your stitch, and repeat. Maintain even tension — too tight puckers the fabric; too loose leaves floppy loops.
- End your yarn. Weave the tail through 3–4 stitches on the back of the work, then trim close to the fabric. This is more secure than a knot for yarn embroidery.
Best Embroidery Stitches to Use with Yarn
Some stitches translate beautifully to yarn; others become too bulky or lose definition. Here are the most effective stitches for yarn embroidery:
Running Stitch
The simplest stitch: the needle goes up and down through the fabric in a straight line, leaving equal-length dashes. In yarn, this creates a bold, graphic outline. Ideal for geometric designs and borders.
Back Stitch
Creates a solid, continuous line by stitching backward into the previous stitch hole. This is the best outline stitch for yarn — it creates clean edges without gaps. Use it for lettering, curves, and botanical stems.
Satin Stitch
Parallel straight stitches laid side by side to fill a shape completely. With yarn, this creates a lush, raised fill — particularly striking for flower petals and leaves. Keep stitches shorter than 1 cm for best results to prevent snagging.
French Knot
Wrap the yarn around the needle 1–2 times and insert back near the starting point. In yarn, French knots become large, dimensional dots perfect for flower centers, berries, and textured backgrounds. Use fingering-weight yarn for more delicate knots.
Chain Stitch
Each stitch forms a loop anchored by the next, creating a chain-like line. Yarn chain stitches are bold and rope-like, excellent for decorative borders and thick outlines. Also works well for filling shapes when worked in rows.
Tent Stitch (for Canvas Work)
Small diagonal stitches covering one canvas intersection. This is the foundation stitch of needlepoint and tapestry work. With tapestry yarn on 10-count canvas, one skein (about 40 yards) covers roughly 20 square inches.
Embroidery Thread vs. Yarn: Which Should You Choose?
Many embroiderers want to know when to use embroidery thread (floss) versus yarn. The answer depends on your project goals:
| Factor | Embroidery Thread (Floss) | Yarn |
|---|---|---|
| Detail level | High — fine lines possible | Medium to low — bold shapes |
| Fabric type | Tightly woven cotton, linen | Open-weave, canvas, felt |
| Project size | Small to medium | Medium to large |
| Texture | Smooth, flat | Raised, dimensional |
| Speed | Slower | Faster |
| Cost | $0.50–$2 per skein | $3–$15 per skein |
| Best use cases | Portraits, botanical art, hoop art | Wall art, pillows, rustic décor |
Many experienced embroiderers combine both in a single piece — using yarn for bold fill areas and floss for fine detail work on top.
Common Mistakes and How to Avoid Them
Yarn embroidery has a short learning curve, but several common errors frustrate beginners. Knowing these in advance saves wasted materials and time.
- Using yarn that's too thick for the fabric: Bulky yarn on tightly woven fabric distorts the weave and is nearly impossible to pull through. Match yarn weight to fabric openness — worsted weight needs at least 10-count canvas or open-weave fabric.
- Cutting yarn too long: Lengths over 18 inches fray, tangle, and pill from repeated needle friction. Always cut shorter and re-thread more frequently.
- Pulling stitches too tight: Yarn is less forgiving than floss. Over-tightening puckers fabric permanently. Aim for relaxed tension where the yarn lies flat without dimpling the fabric.
- Using a needle that's too small: A small eye tears the yarn fibers as you thread and causes drag through the fabric. Always use a large-eye tapestry or chenille needle.
- Skipping the hoop: Without a hoop, yarn embroidery causes fabric to bunch and warp significantly. Always use a hoop, even for small projects.
Beginner Project Ideas for Yarn Embroidery
Starting with the right project size and complexity makes a huge difference in early success. These projects are well-matched to yarn embroidery's strengths:
- Simple floral hoop on burlap: A daisy or sunflower with 5–8 petals in satin stitch and a French knot center. Completable in 2–3 hours.
- Geometric wall hanging: Triangles and diamonds in running stitch on felt — no pattern transfer needed, just measure and mark with ruler and chalk.
- Monogram pillow cover: Back stitch a single large letter on canvas fabric. Use a bold, sans-serif font for clearest results.
- Needlepoint coaster set: Small 4×4-inch pieces on 14-count canvas using tent stitch. A single coaster takes approximately 1–2 hours for a beginner.
- Abstract texture sampler: Practice 4–5 different stitches in blocks on one piece of fabric. Great for building muscle memory without committing to a full design.
Caring for Finished Yarn Embroidery
Proper care preserves your work for years. The care method depends primarily on the yarn fiber used.
- Wool yarn: Hand wash in cool water with wool-safe detergent. Never wring — press water out gently and dry flat. Heat causes wool to felt and shrink irreversibly.
- Acrylic yarn: Machine washable on a gentle cold cycle. Tumble dry on low. Most colorfast option — ideal for items that need frequent washing.
- Cotton yarn: Machine wash cold, lay flat to dry. Cotton can handle slightly warmer water than wool without shrinking.
- Wall art pieces: Keep out of direct sunlight to prevent fading. Dust lightly with a soft brush or low-suction vacuum attachment every few months.
- Blocking: After washing, gently stretch the piece back into shape and pin it flat until dry. This is especially important for wool, which may shift during washing.
With the right fiber choice and care routine, yarn embroidery pieces can last decades without significant deterioration — many museum-quality tapestries made with wool yarn are hundreds of years old.