عربى
عربى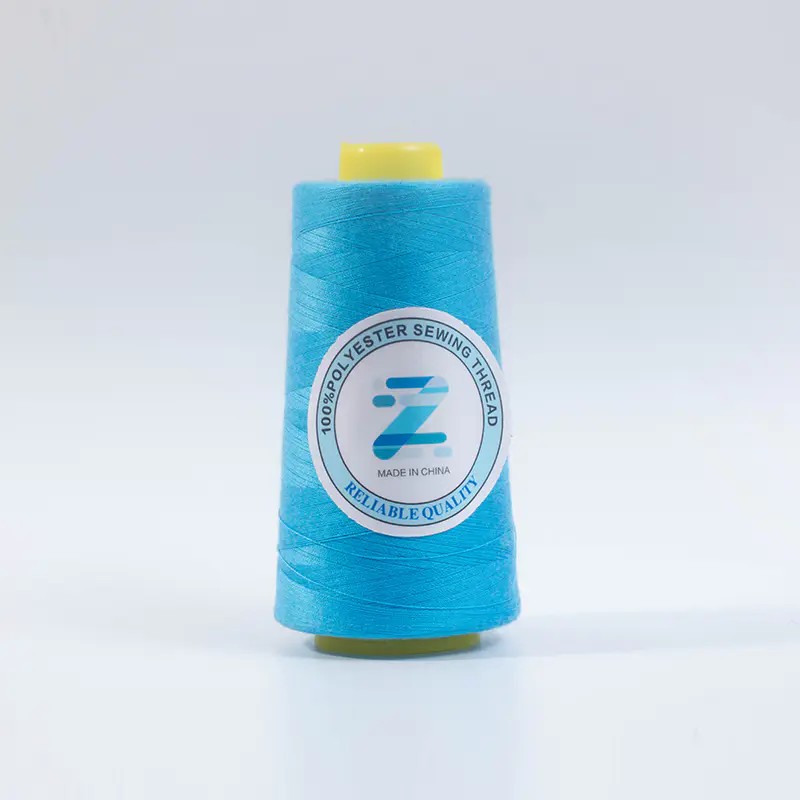
Content
- 1 Why Thread Choice Matters More Than You Think on Denim
- 2 Polyester Embroidery Thread vs Silk vs Cotton: Full Comparison
- 3 Tools You Need Before You Start Embroidering Jeans
- 4 How to Transfer Your Design onto Jeans
- 5 Step-by-Step: How to Embroider Jeans by Hand
- 6 Best Embroidery Stitches for Denim Jeans
- 7 Popular Design Placements on Jeans
- 8 How to Make Embroidery on Jeans Last Through Washing
- 9 Common Mistakes to Avoid When Embroidering Jeans
- 10 Quick-Start Thread Recommendations by Project Type
Embroidering jeans is one of the most effective ways to personalize denim — and it's more accessible than most beginners expect. The process involves transferring a design onto denim fabric and stitching it by hand or machine using embroidery thread. The most critical decision you'll make isn't the stitch type or the pattern — it's the thread. Polyester embroidery thread is the top recommendation for jeans due to its durability, colorfastness, and resistance to the friction and washing that denim endures daily. Embroidery silk thread offers unmatched sheen for decorative pieces, while cotton embroidery thread yarn remains a classic all-rounder. This guide covers everything: thread selection, tools, design transfer, stitch techniques, and how to make your embroidery last.
Why Thread Choice Matters More Than You Think on Denim
Denim is a tough, tightly woven fabric — typically 12 to 14 oz per square yard for standard jeans. This density means your needle and thread face more resistance than on linen or cotton canvas. The wrong thread will fray, fade, snap under tension, or bleed color onto surrounding fabric after the first wash. Getting thread selection right upfront saves hours of rework.
There are three main categories of embroidery thread yarn used on jeans, each with distinct properties:
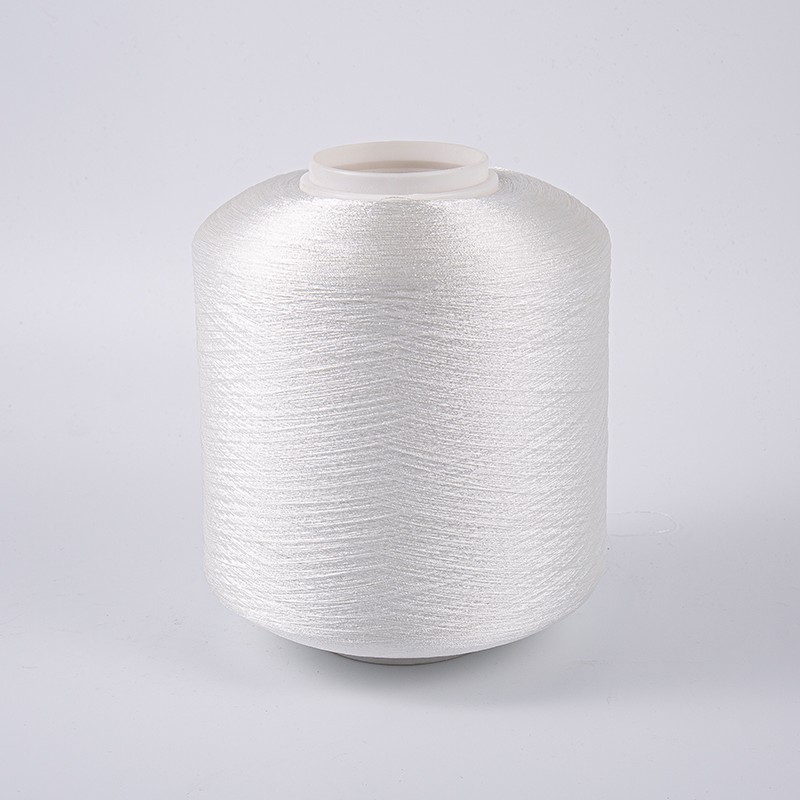
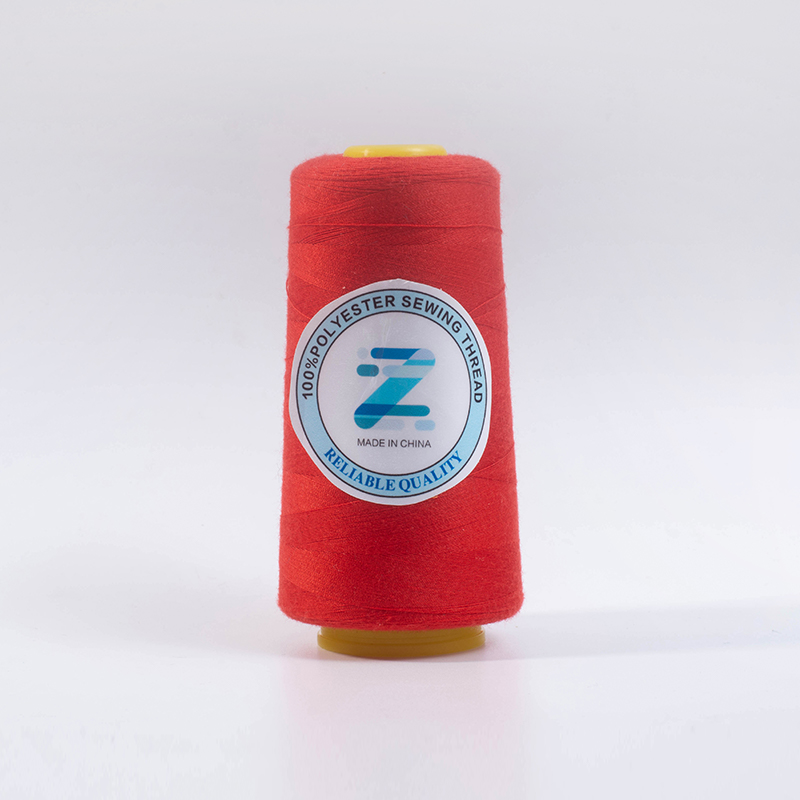
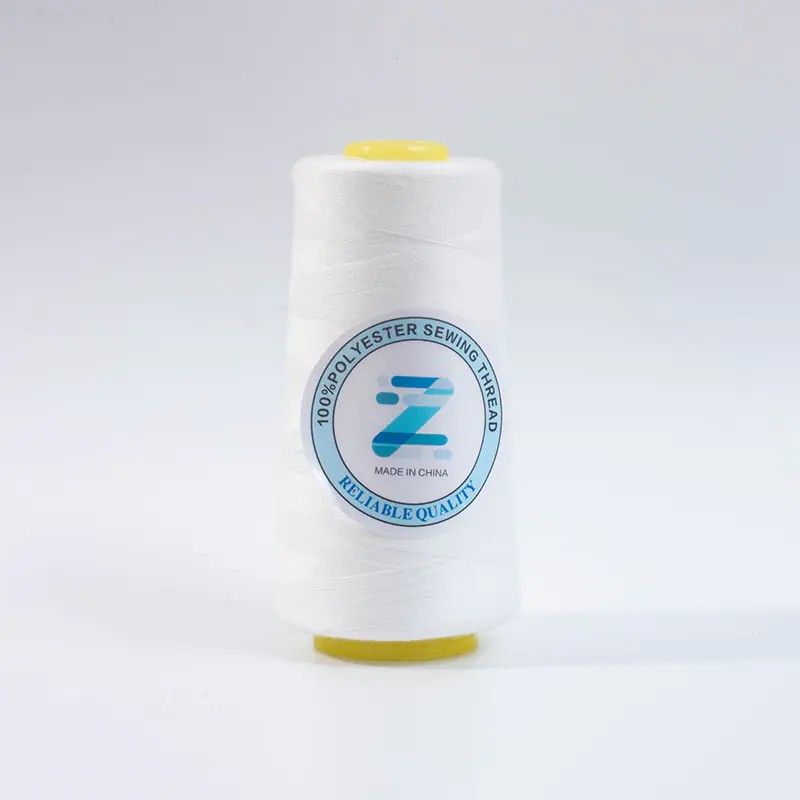
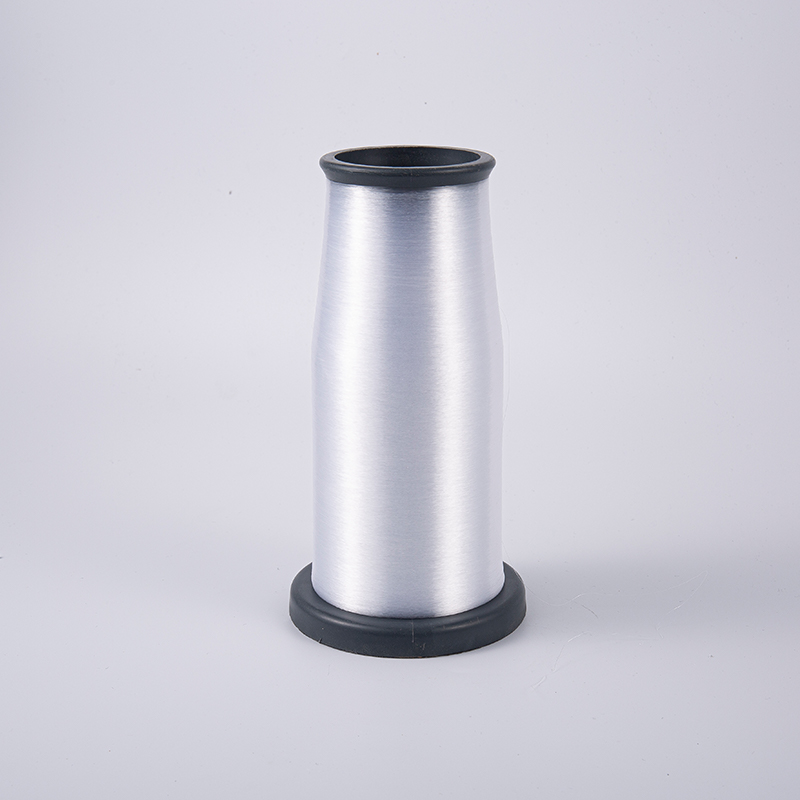
- Polyester embroidery thread / polyester embroidery yarn — the most durable, colorfast, and wash-resistant option
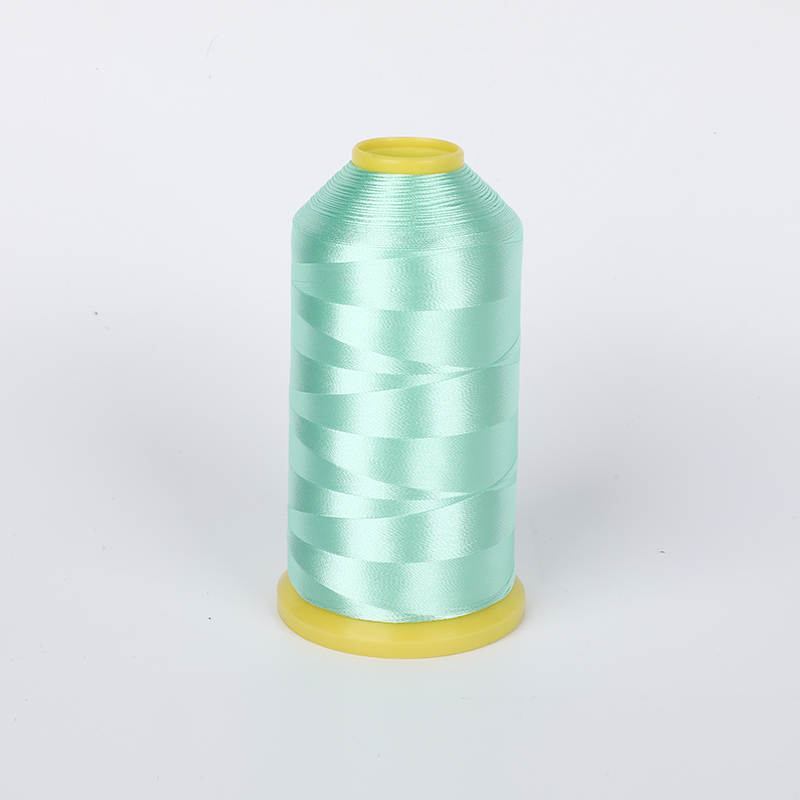
- Embroidery silk thread — the most lustrous, with a premium appearance, but more delicate and costly
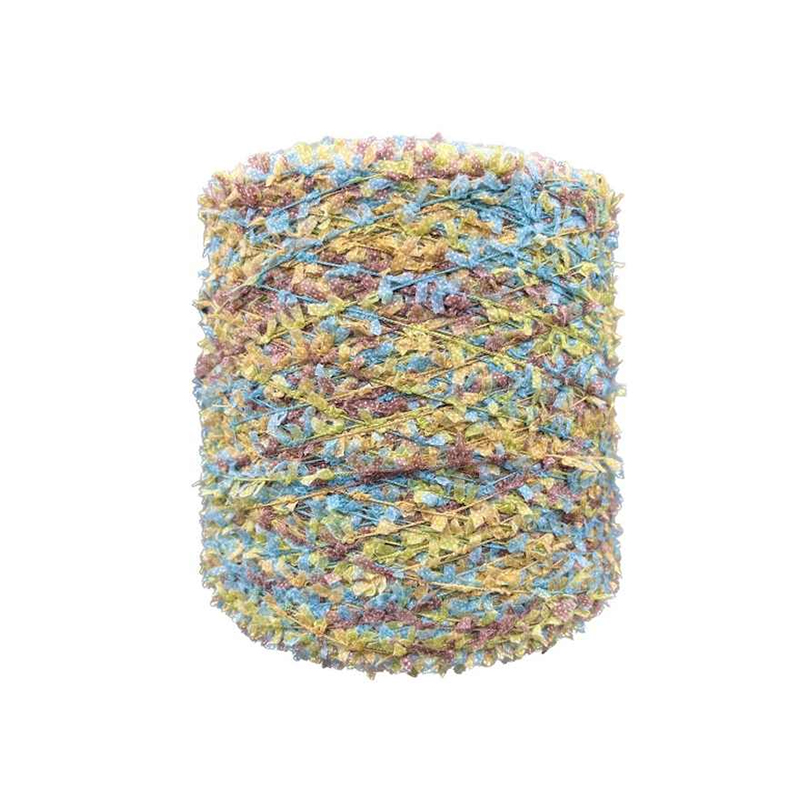
- Cotton embroidery thread (6-strand floss) — the most widely available and beginner-friendly, with a matte finish ideal for casual denim looks
Polyester Embroidery Thread vs Silk vs Cotton: Full Comparison
Understanding the practical differences between thread types will help you match the right material to your project goals — whether you're embroidering a pair of everyday jeans or a special occasion denim jacket.
| Thread Type | Durability | Finish | Washability | Best For | Avg. Cost |
|---|---|---|---|---|---|
| Polyester Embroidery Thread | Excellent | Slight sheen | Machine washable, colorfast | Everyday jeans, machine embroidery | $5–$15 per spool |
| Embroidery Silk Thread | Moderate | High gloss / lustrous | Hand wash recommended | Decorative / display pieces | $10–$30 per skein |
| Cotton Embroidery Floss | Good | Matte | Machine washable (cold) | Beginners, casual hand embroidery | $1–$3 per skein |
| Polyester Embroidery Yarn | Excellent | Matte to semi-sheen | Machine washable, fade-resistant | Bold, textured designs on denim | $6–$18 per skein |
When to Use Polyester Embroidery Thread on Jeans
Polyester embroidery thread is the industry standard for machine embroidery on denim for good reason. It has a tensile strength roughly 20–30% higher than equivalent cotton thread, meaning it resists snapping when pulled taut through dense denim weave. It also maintains color intensity through repeated machine washing at temperatures up to 60°C without fading — a critical advantage for jeans that are washed frequently. Brands like Madeira, Robison-Anton, and Sulky offer polyester threads in 1,000+ colors with consistent dye lots.
When to Use Embroidery Silk Thread on Jeans
Embroidery silk thread produces a luminous, high-contrast finish that catches light in ways polyester and cotton cannot replicate. It's ideal for statement pieces — a jacket you wear to events rather than wash weekly, or a framed denim art piece. Silk thread is finer than most cotton or polyester alternatives, which allows for more detailed stitching at smaller scales. The trade-off is fragility: silk thread can weaken with repeated friction and requires gentle hand washing in cold water. Budget-wise, expect to spend 3–5x more per yard compared to polyester.
When to Use Polyester Embroidery Yarn on Jeans
Polyester embroidery yarn is thicker than standard embroidery thread and creates bold, raised, tactile designs that stand out visually on denim. It's particularly well suited for large motifs like florals, animals, or lettering where you want visual impact over fine detail. Because it's polyester-based, it shares the same washability and colorfastness advantages as polyester thread — making it a practical choice for wearable art pieces you'll actually use.
Tools You Need Before You Start Embroidering Jeans
Having the right tools makes the difference between clean, professional-looking embroidery and frustrating, uneven results. Denim requires more robust tools than lightweight fabrics.
- Denim or sharp hand-sewing needles: Use size 3–5 embroidery needles for cotton floss, size 5–7 for silk thread, and a chenille needle (size 18–22) for thicker polyester embroidery yarn. Denim-specific needles have reinforced tips that pierce dense weave without bending.
- Embroidery hoop (5–8 inch): A hoop keeps the denim taut and prevents puckering. Use a hoop with a lip or wrap the inner ring with cloth tape to prevent denim from slipping.
- Water-soluble or heat-erasable fabric pen: For transferring designs. Avoid permanent markers — they bleed through thread over time.
- Stabilizer or interfacing: Iron-on tear-away or cut-away stabilizer applied to the back of the jeans prevents the denim from stretching or distorting during stitching. This step is especially important for machine embroidery.
- Small embroidery scissors: Sharp, pointed scissors for trimming thread ends cleanly without fraying.
- Thimble: Strongly recommended for denim — pushing a needle through 12+ oz fabric repeatedly without a thimble will bruise your fingertip within 20 minutes.
How to Transfer Your Design onto Jeans
Accurate design transfer is the foundation of clean embroidery. There are three practical methods for denim:
Method 1: Tracing with a Light Pad
Place your printed design on a light pad or tape it to a bright window. Lay the denim section over it and trace the design directly onto the fabric with a water-soluble pen. This works best on lighter-wash jeans where the light passes through the weave. Works poorly on dark indigo or black denim.
Method 2: Transfer Paper
Dressmaker's carbon transfer paper (available in white or yellow for dark fabrics) lets you transfer designs to any denim shade. Place the carbon side against the fabric, lay your design on top, and trace firmly with a ballpoint pen or stylus. The lines transfer cleanly and wash out after embroidery is complete.
Method 3: Soluble Stabilizer (Best for Complex Designs)
Print or draw your design onto water-soluble stabilizer film, pin or baste it directly onto the denim, and stitch through both layers. When embroidery is complete, soak in cool water for 5–10 minutes to dissolve the stabilizer completely. This method is ideal for highly detailed designs and eliminates transfer accuracy issues entirely.
Step-by-Step: How to Embroider Jeans by Hand
Hand embroidery on jeans gives you complete creative control and requires no machine. Follow these steps for best results:
- Wash and dry your jeans before embroidering. This pre-shrinks the fabric so your design won't distort after the first wash.
- Cut a piece of iron-on stabilizer slightly larger than your design area. Iron it to the inside of the jeans at the target location. This prevents the fabric from bunching under the hoop.
- Secure the denim in your embroidery hoop, making sure the fabric is drum-tight with no slack. For areas near seams (like the thigh or knee), you may need to work in sections.
- Transfer your design using your chosen method (light pad, transfer paper, or soluble stabilizer).
- Thread your needle with 2–3 strands of 6-strand cotton floss, a single strand of silk thread, or a single strand of polyester embroidery thread depending on your chosen material. Knot the end or use an away knot to anchor without a visible bump on the right side.
- Begin stitching from the outermost outline of your design, working inward. Use a backstitch or split stitch for outlines, satin stitch for solid fills, and French knots for textured details.
- When finishing a thread or changing colors, weave the tail 1–2 cm through the back of existing stitches and trim. Do not tie knots on the back — they create visible bumps and can loosen over time.
- Remove the hoop, dissolve or remove the design transfer marks, and gently press the embroidered area face-down on a soft towel with a warm iron to flatten without crushing the stitches.
Best Embroidery Stitches for Denim Jeans
Not all embroidery stitches work equally well on the thick, textured surface of denim. Some stitches that look beautiful on linen become uneven and loose on denim's raised twill weave. These are the most reliable stitches for jeans:
Backstitch
The backstitch is the most secure hand-embroidery stitch for denim outlines. Because each stitch locks into the previous one, the line stays intact even if one stitch is cut or frays. Use 2–3 strands of cotton floss or a single strand of polyester thread for clean, tight lines. Ideal for lettering, botanical stems, and geometric shapes.
Satin Stitch
Satin stitch creates smooth, solid-filled areas by laying parallel stitches side by side. On denim, keep individual stitches under 1 cm in length — longer satin stitches catch on the denim's texture and loosen over time. Use silk thread or polyester thread for the smoothest fill finish.
French Knots
French knots add dimensional texture and work beautifully as flower centers, polka dot patterns, or filling agents within larger motifs. On denim, wrap the thread 2–3 times around the needle (rather than the usual 1–2) to create knots substantial enough to sit above the weave texture visually.
Chain Stitch
Chain stitch creates a linked, rope-like line that stands out boldly against denim's texture. It's particularly effective for curved designs like vines, waves, or freeform lettering. Using polyester embroidery yarn in a chain stitch produces a chunky, highly visible effect similar to vintage denim embroidery from the 1970s.
Stem Stitch
Stem stitch produces a twisted, rope-like outline that's particularly well suited for floral stems, script lettering, and curved borders on denim. It's slightly more forgiving than backstitch on irregular denim surfaces, making it a good choice for beginners working on textured fabric.
Popular Design Placements on Jeans
Where you place embroidery on jeans significantly affects both the technical difficulty and the visual result. Some placements are beginner-friendly; others require working around seams or curved surfaces.
- Front pocket corner or top edge: A small floral motif or geometric design here is highly visible and beginner-accessible. The flat, single-layer fabric is easy to hoop.
- Thigh or knee: Large, bold designs work well here. Use a 7–8 inch hoop. Avoid the inner thigh — the abrasion from walking will degrade embroidery thread faster than anywhere else on the garment.
- Hem / cuff: Geometric or repetitive borders along the hem create a polished, intentional look. The curved seam makes hooping tricky — use a rolled hoop or stitch without a hoop for narrow sections.
- Back yoke: The triangular back panel above the pockets is a high-impact placement visible when wearing the jeans. Intermediate difficulty due to the curved shape and proximity to seams.
- Belt loop or waistband: Small accent details — a tiny flower, star, or initial — on a belt loop add subtle personalization. Use a single strand of thread and very small stitches in this area.
How to Make Embroidery on Jeans Last Through Washing
Even the best embroidery can deteriorate quickly if you don't care for it properly. Denim jeans get washed more frequently and subjected to more physical stress than most embroidered garments. Follow these practices to extend the life of your work:
- Turn jeans inside out before every wash. This protects the embroidery from direct friction against the drum of the washing machine, which is one of the leading causes of thread wear.
- Wash in cold water on a gentle cycle. Hot water weakens thread fibers — especially silk — and causes cotton and some polyester threads to shrink slightly, which can pucker the surrounding denim.
- Use a mesh laundry bag. This reduces physical agitation during the wash cycle and prevents embroidery threads from snagging on zippers or other garments.
- Air dry rather than machine dry. Dryer heat degrades thread fibers over time and can cause interfacing adhesive to loosen. Lay flat or hang to dry.
- Apply a fabric sealant spray (such as Tulip Fabric Spray or Scotchgard Fabric Protector) to the embroidered surface after completing your design. This adds a protective barrier against moisture and light abrasion without stiffening the fabric noticeably.
- Iron on the reverse side only. Never iron directly over embroidery — the heat flattens dimensional stitches and can melt or distort polyester embroidery yarn. Always press face-down on a thick terry cloth towel.
Common Mistakes to Avoid When Embroidering Jeans
Even experienced embroiderers encounter specific challenges with denim. Knowing these pitfalls in advance prevents wasted time and materials:
- Skipping stabilizer: Without stabilizer, the denim stretches and puckers inside the hoop, causing your stitches to pull unevenly. This is the single most common beginner mistake.
- Using the wrong needle size: A needle that's too small bends or breaks inside denim. A needle that's too large leaves visible holes. Match needle size precisely to your thread weight.
- Working with too many thread strands: More strands create more tension when pulling through dense denim, leading to fabric distortion and uneven stitches. Start with 2 strands and increase only if the design requires it.
- Placing embroidery over seams or pocket edges: Stitching through multiple fabric layers at seam intersections dramatically increases needle difficulty and can snap thinner threads. Plan your design at least 1.5 cm away from any seam.
- Not testing colorfastness of thread: Always wet a short piece of your chosen thread and press it against a white cloth before use. If the dye bleeds, it will bleed onto your jeans permanently after washing.
Quick-Start Thread Recommendations by Project Type
To summarize thread selection in practical terms, here's a direct guide based on common embroidery goals on jeans:
| Project Goal | Recommended Thread | Best Stitch | Experience Level |
|---|---|---|---|
| Everyday wearable jeans | Polyester embroidery thread | Backstitch, chain stitch | All levels |
| Bold floral motif, large fill | Polyester embroidery yarn | Satin stitch, chain stitch | Intermediate |
| Decorative / display piece | Embroidery silk thread | Satin stitch, split stitch | Advanced |
| First embroidery project | Cotton embroidery floss | Backstitch, French knots | Beginner |
| Machine embroidery on denim | Polyester embroidery thread | Digitized fill / satin stitch | Intermediate–Advanced |